video2defocus : Blurred image from video
Features
- Based on the light field, so transparent objects, reflections, and contour of the object are accurately blurred.
- You can specify 1 to 4 points you want to focus on, and different effect is achieved.
- Since many images are overlaid, noise, jaggies, false colors, etc. are reduced.
- Works on a web browser (files are not uploaded to the server)
* Google Chrome is recommended.
Examples of generated image
Original video clip here ( Download .mp4 file by right-click of this link)* Click to see larger picture.
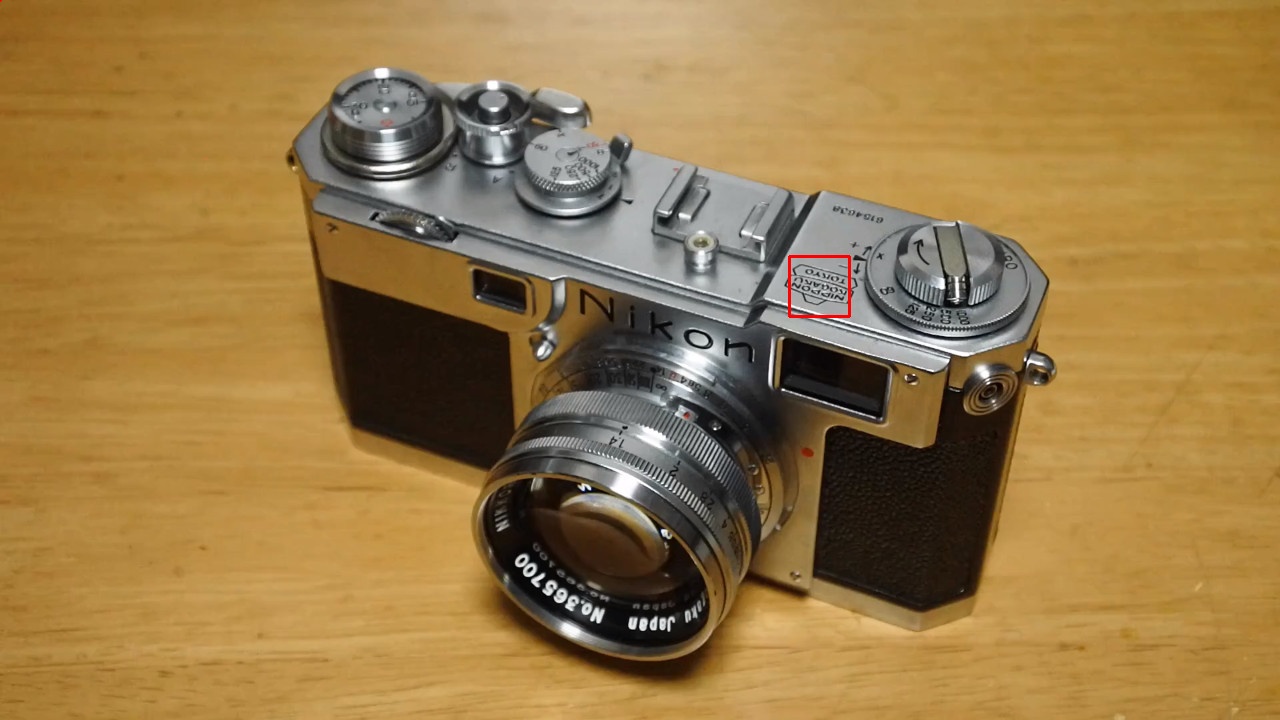
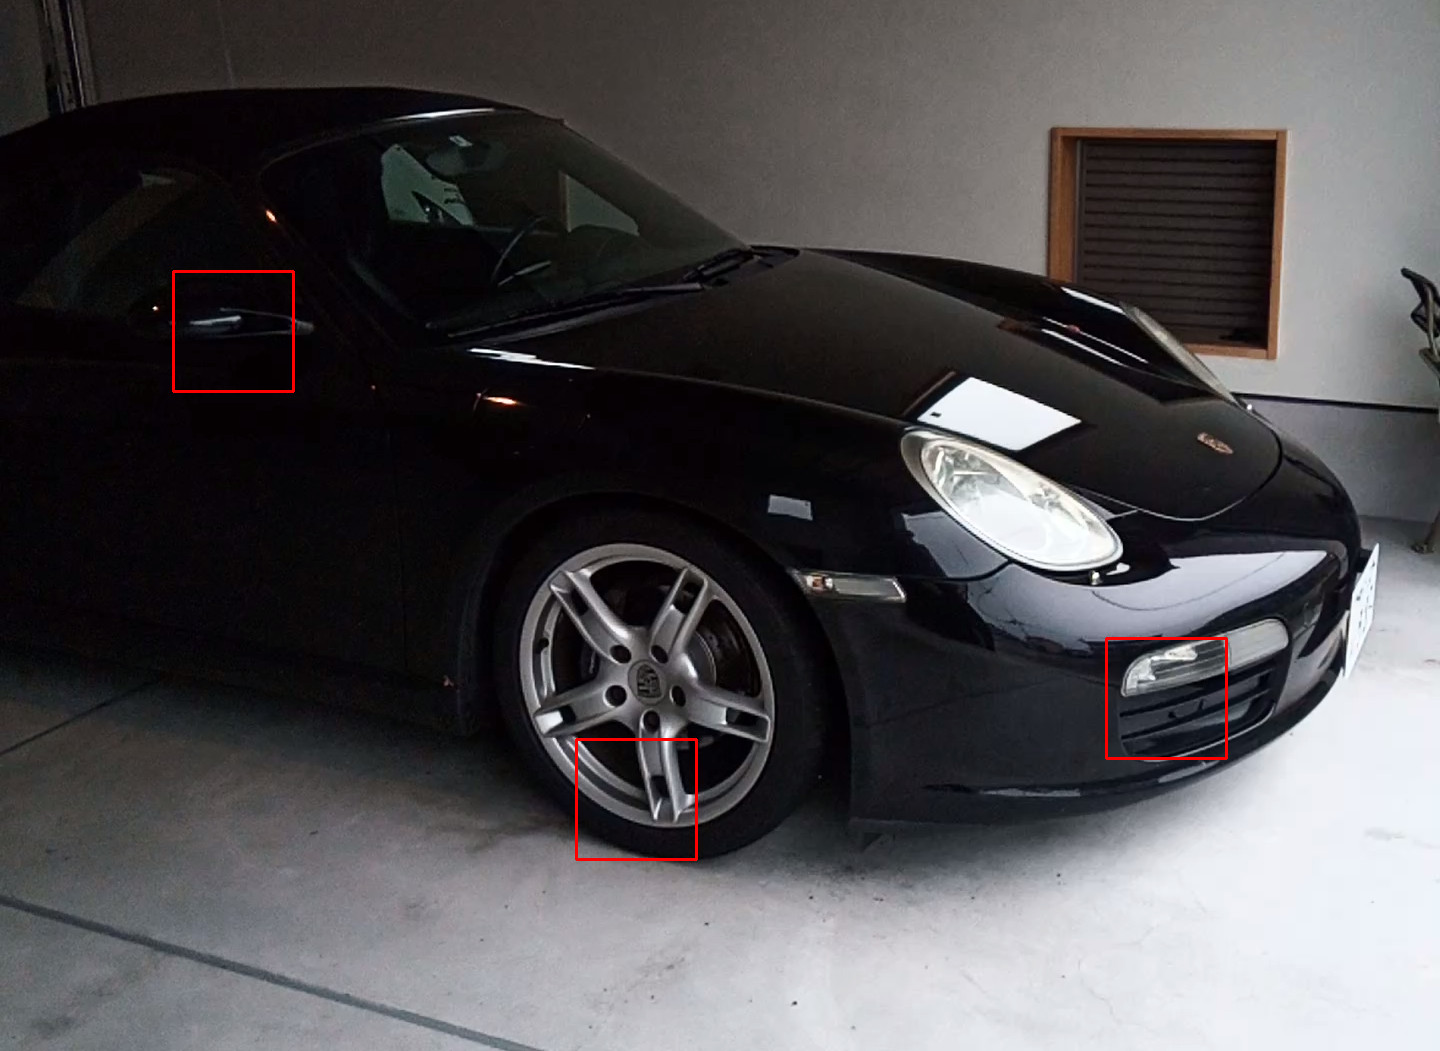
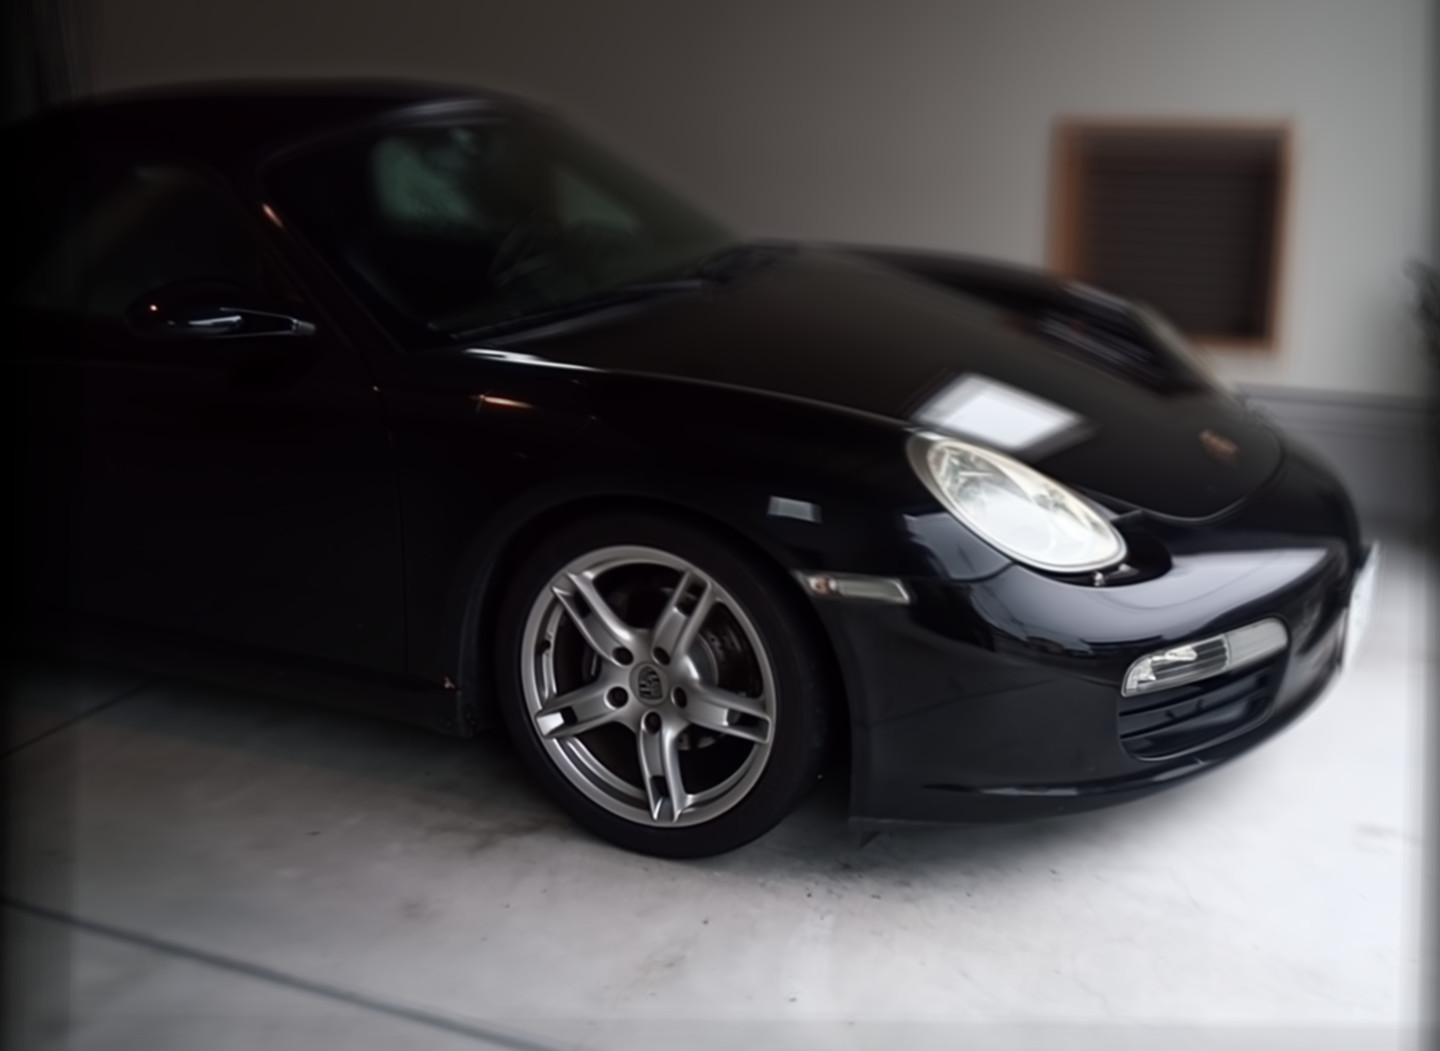
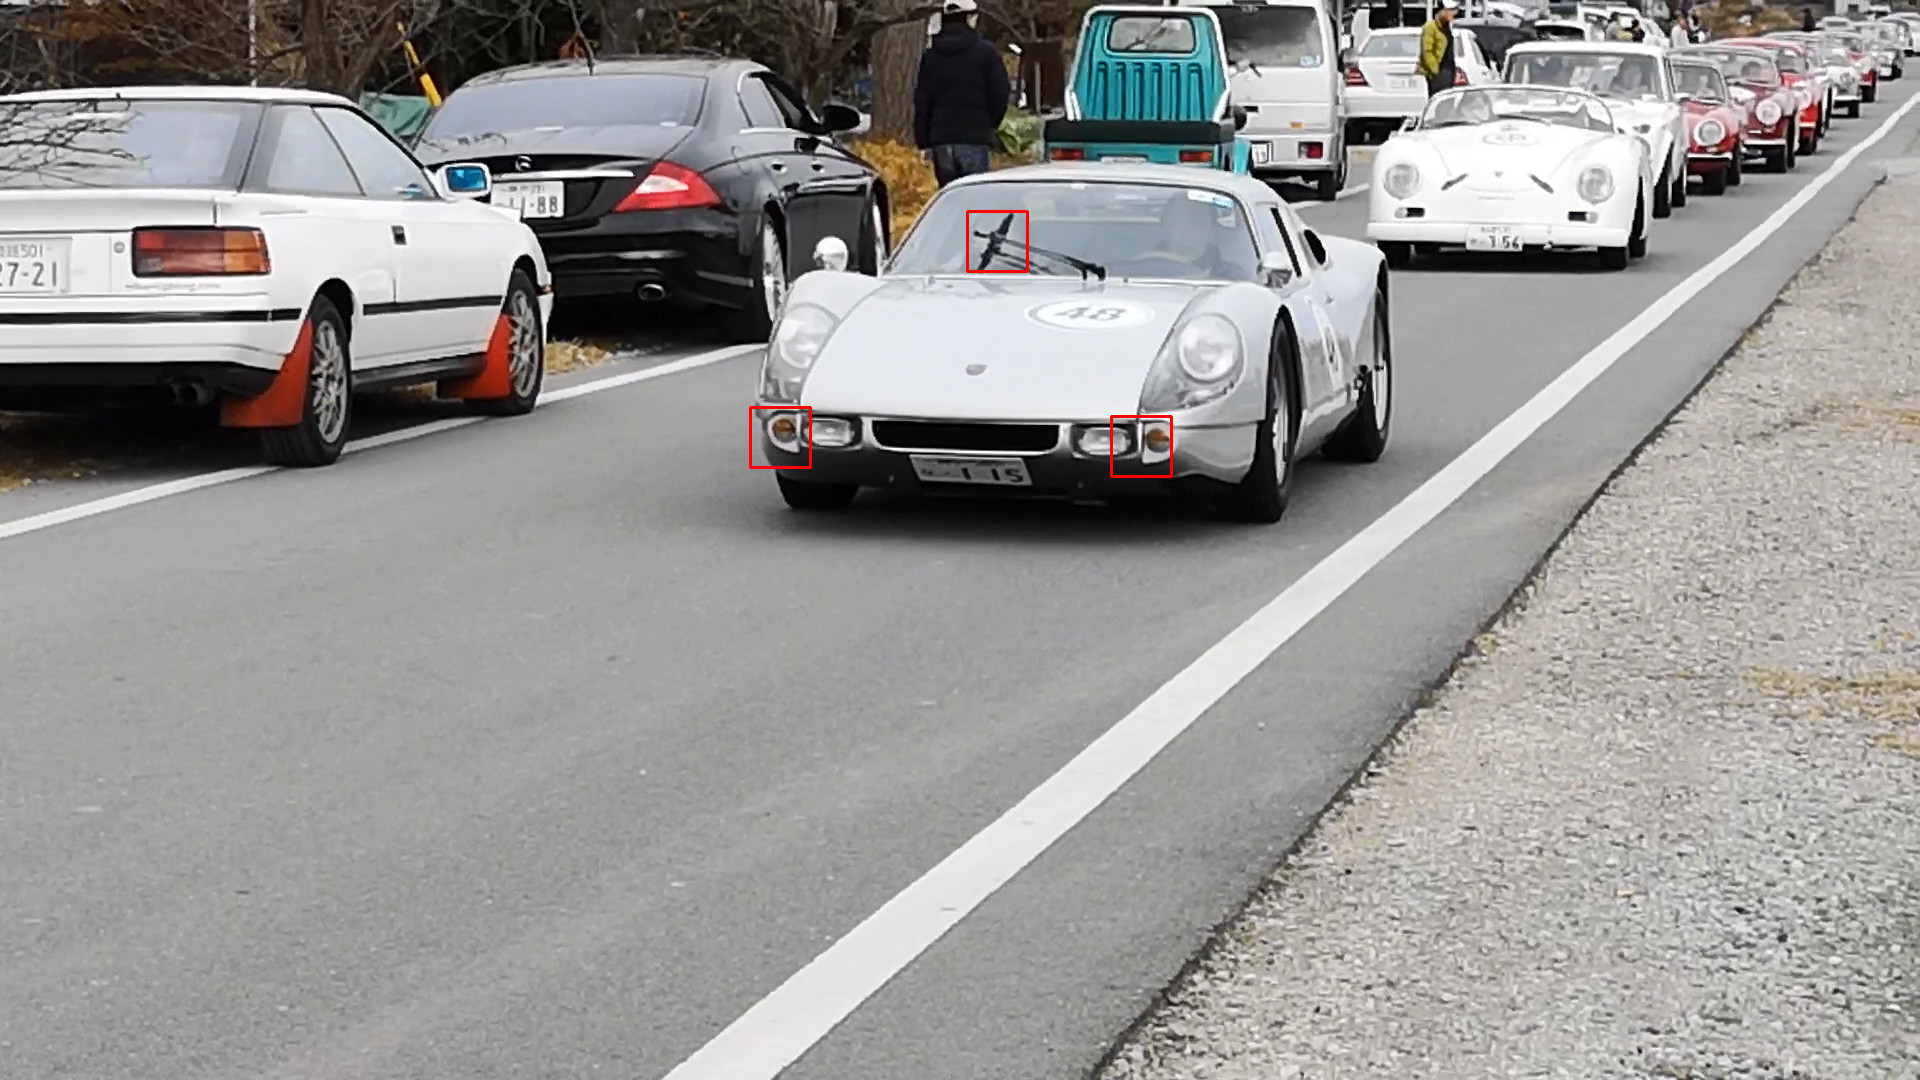
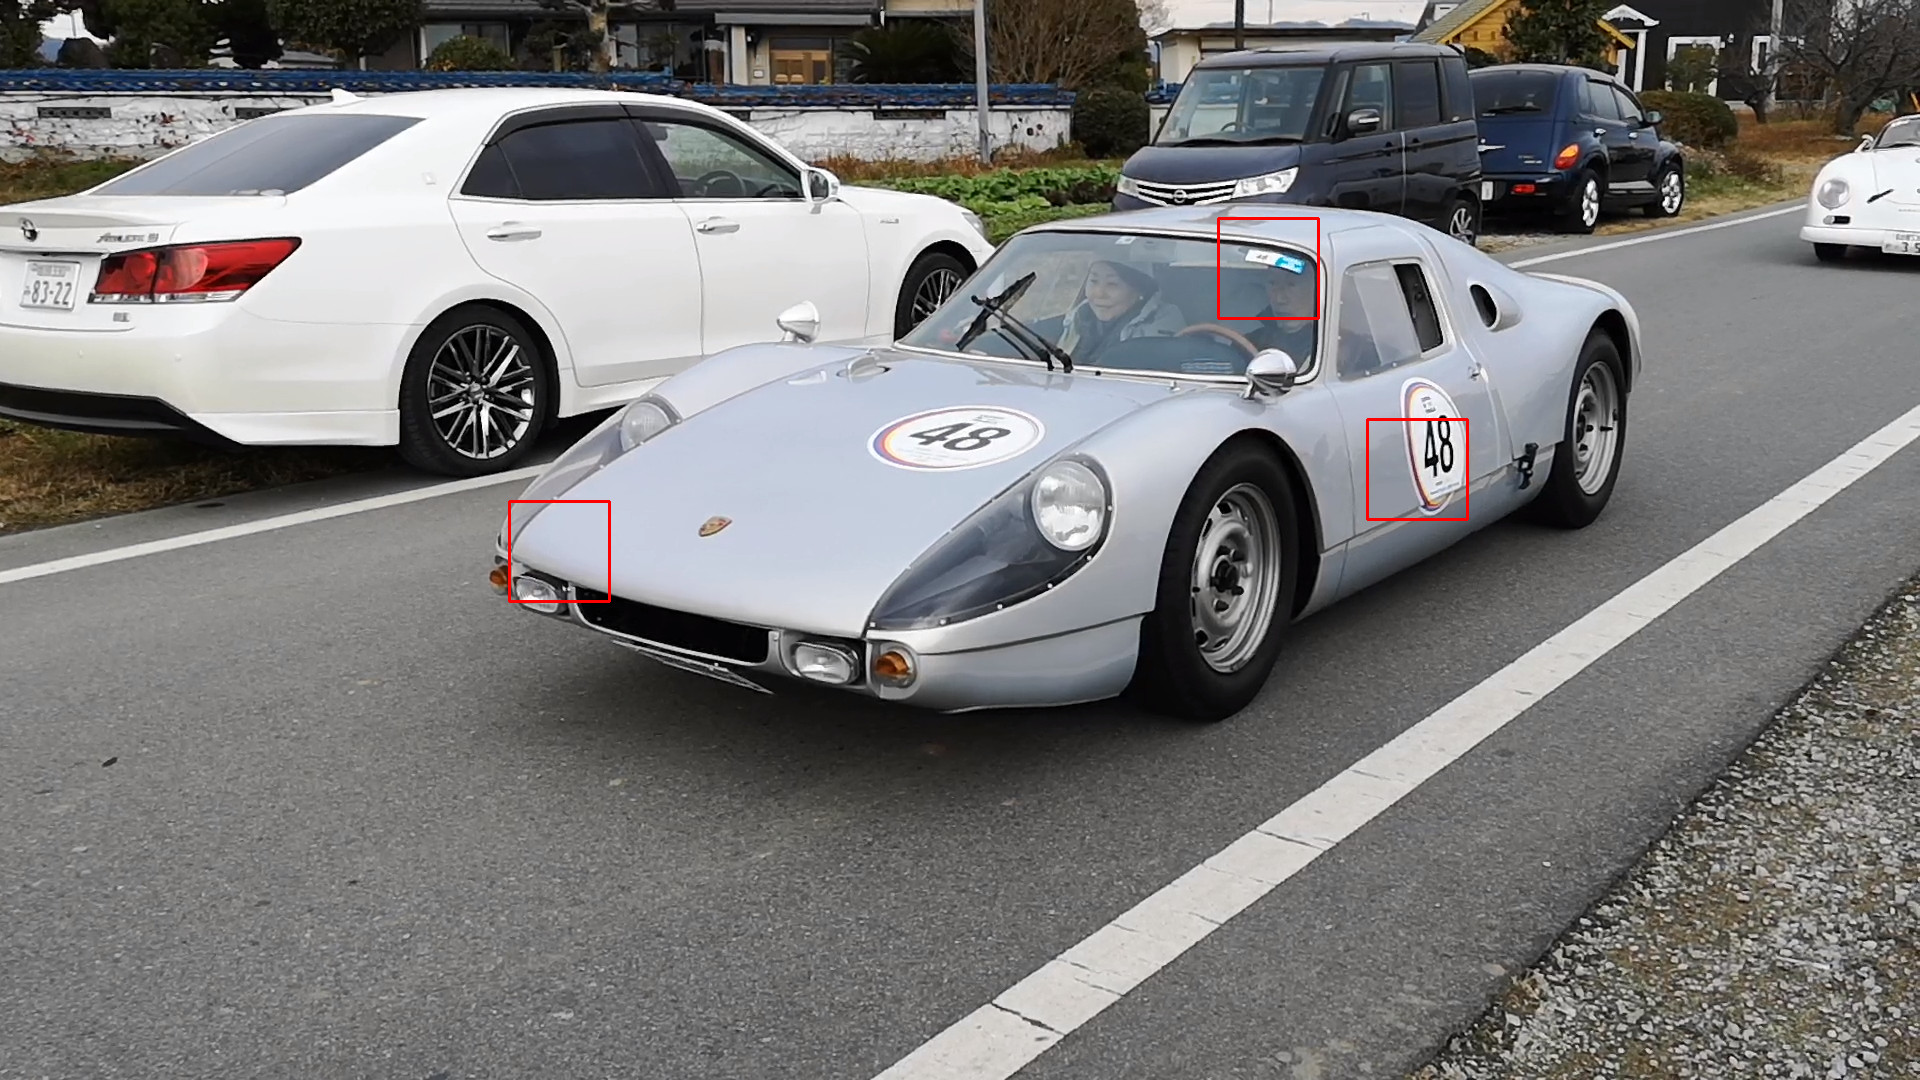
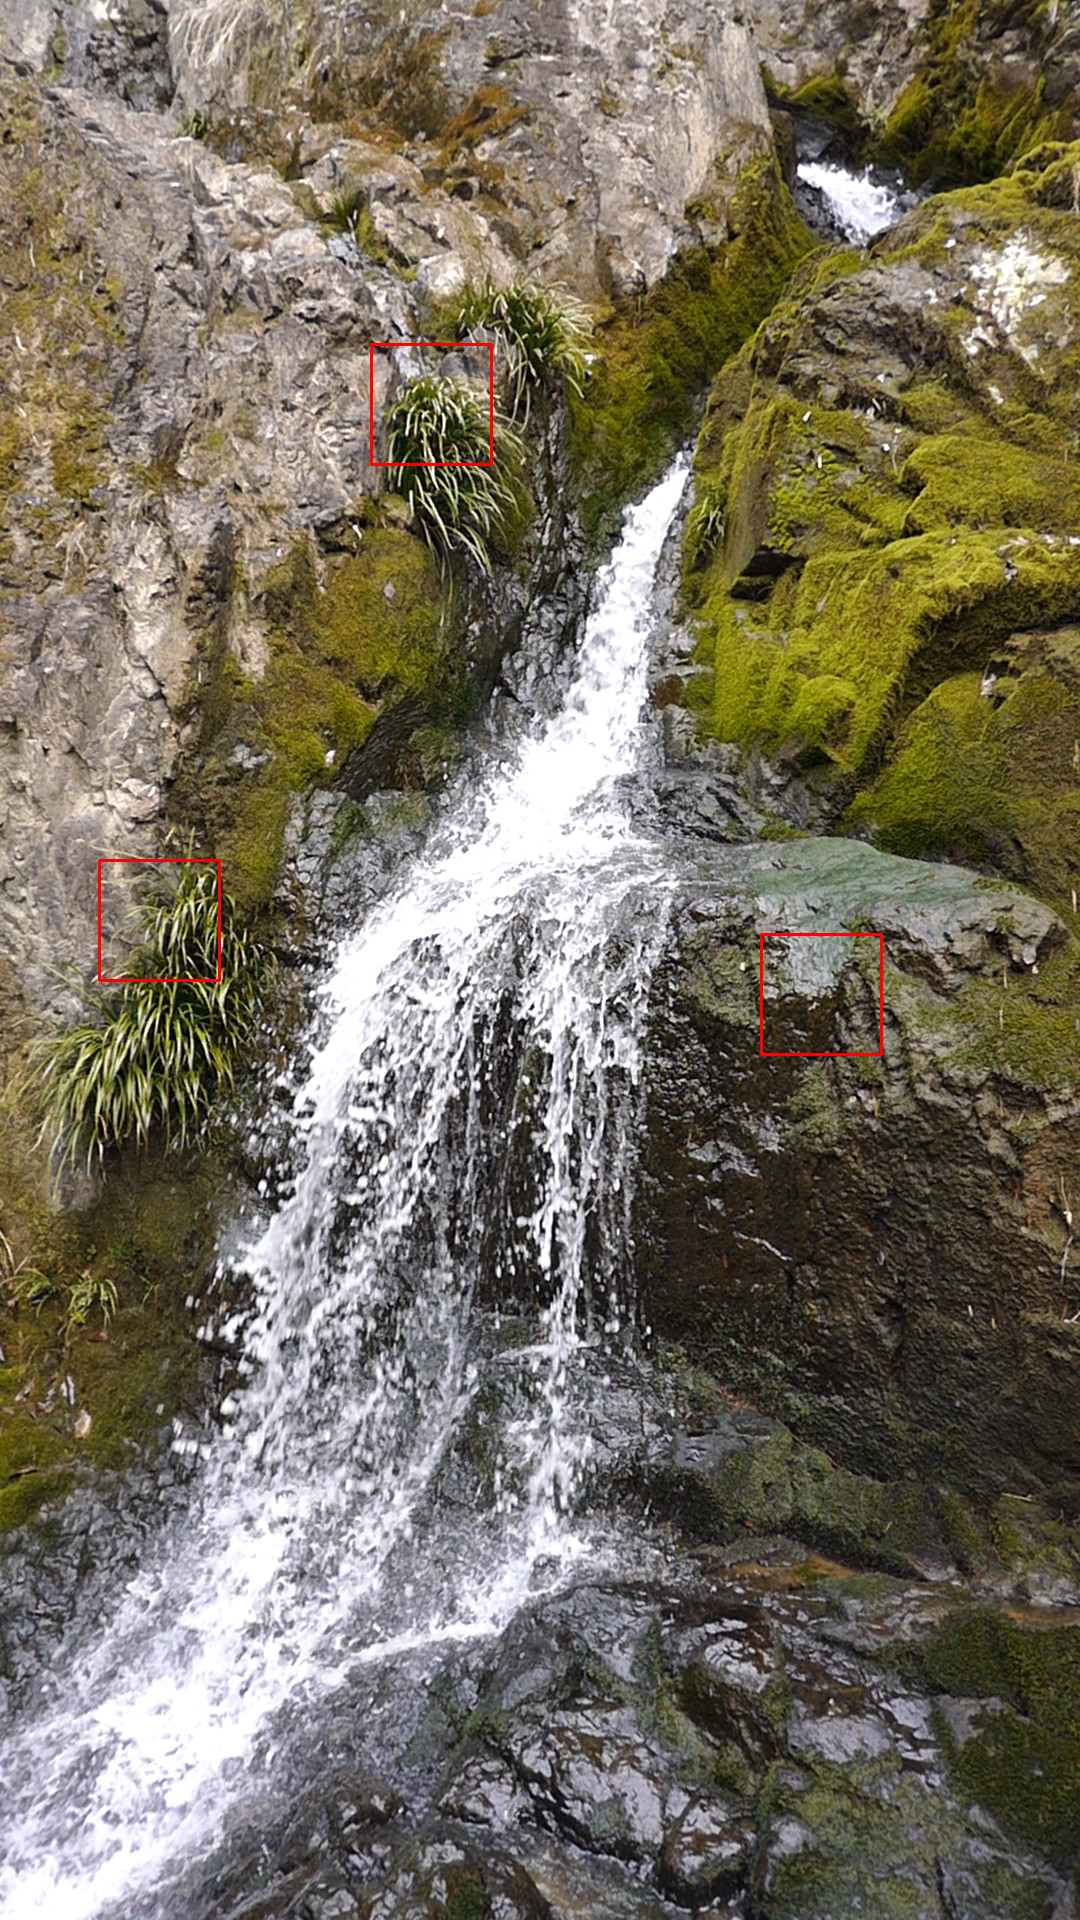
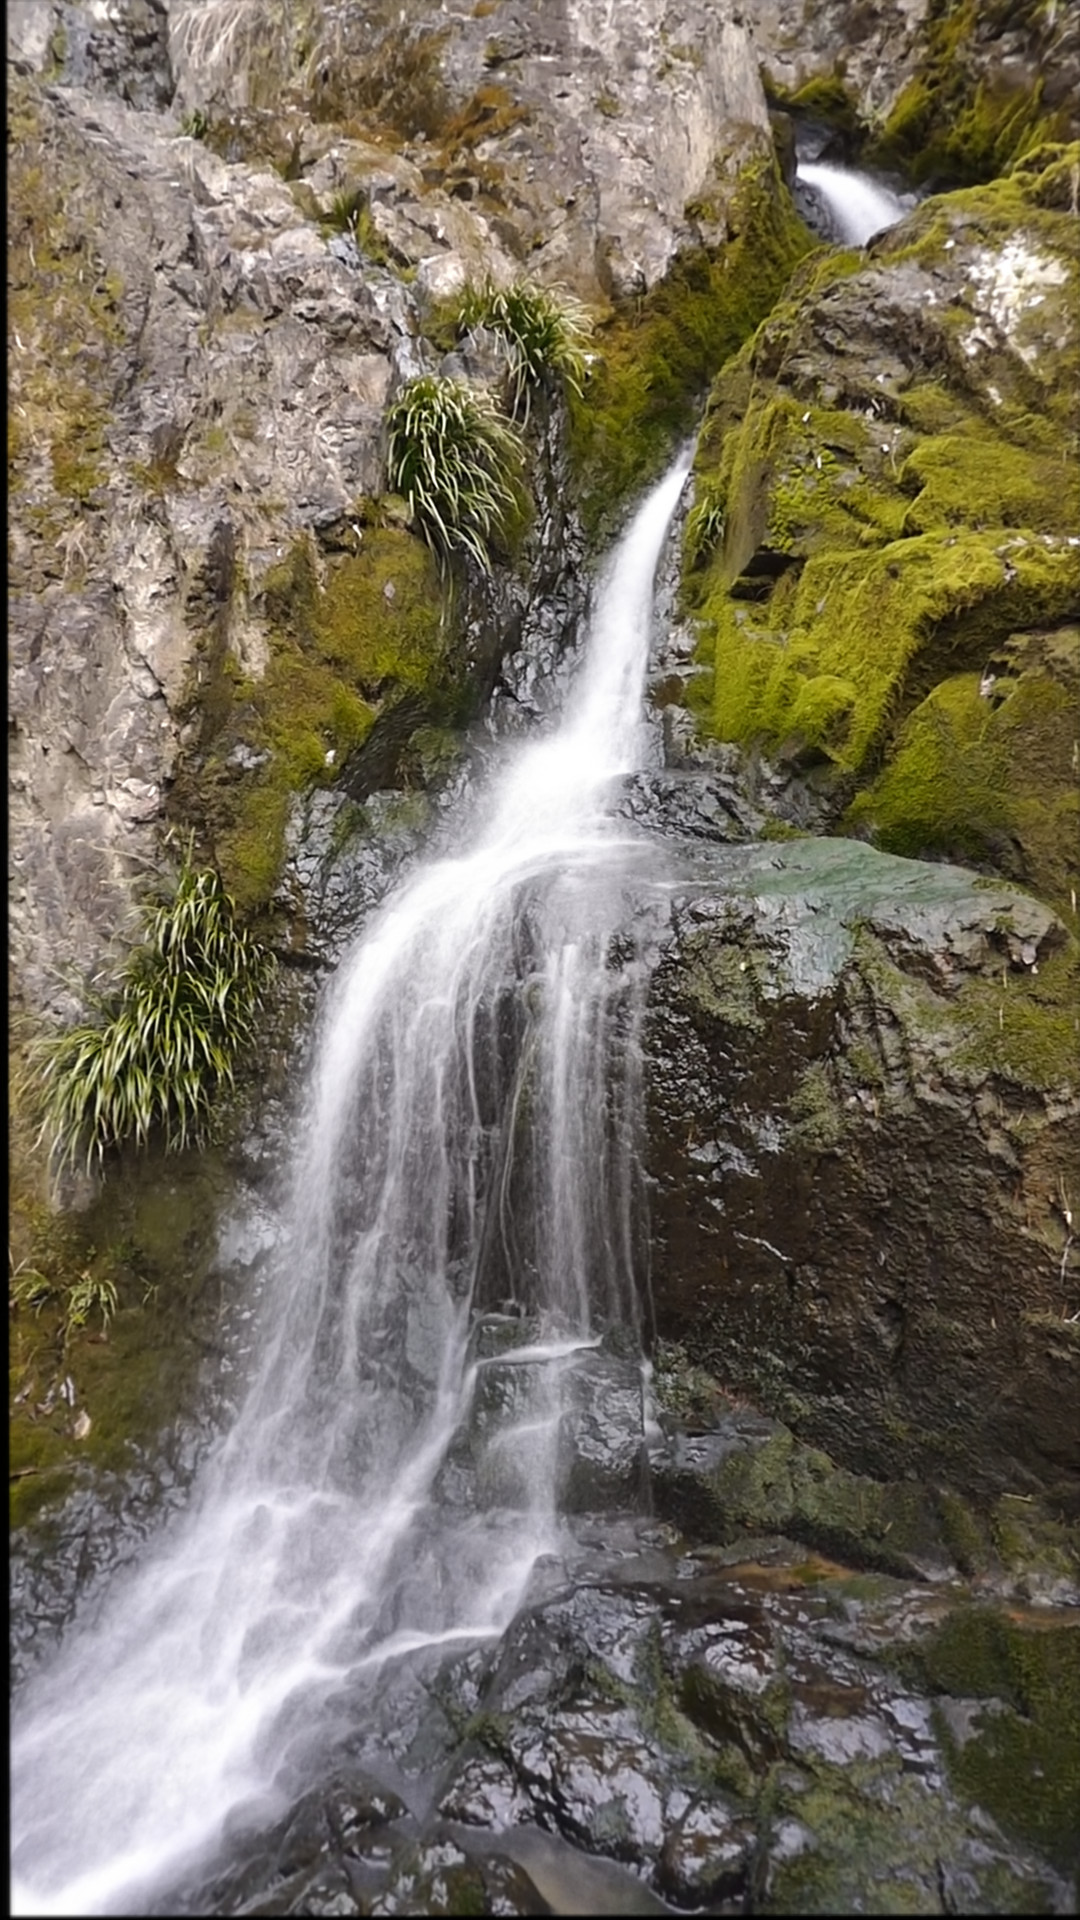
| Specified focused point in the input image | Result |
|---|---|
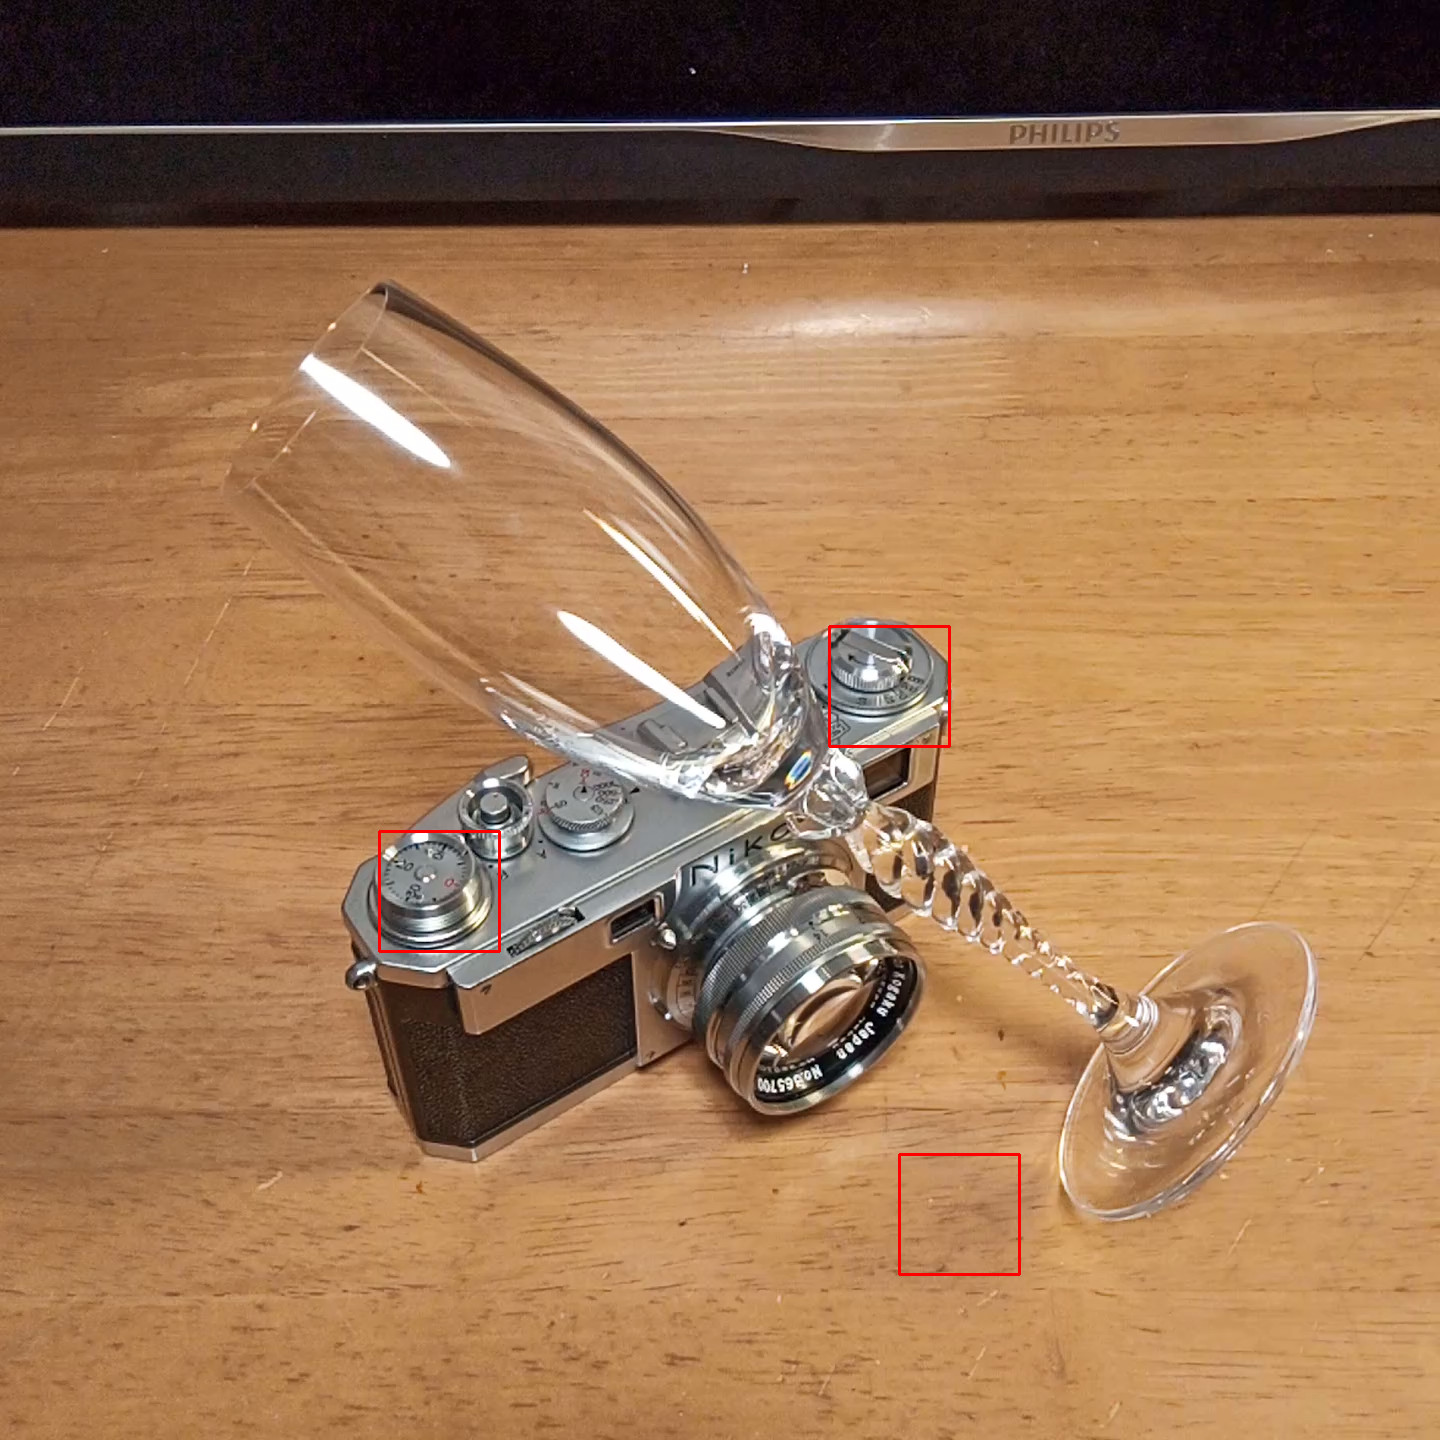 3 points are specified to be focused | 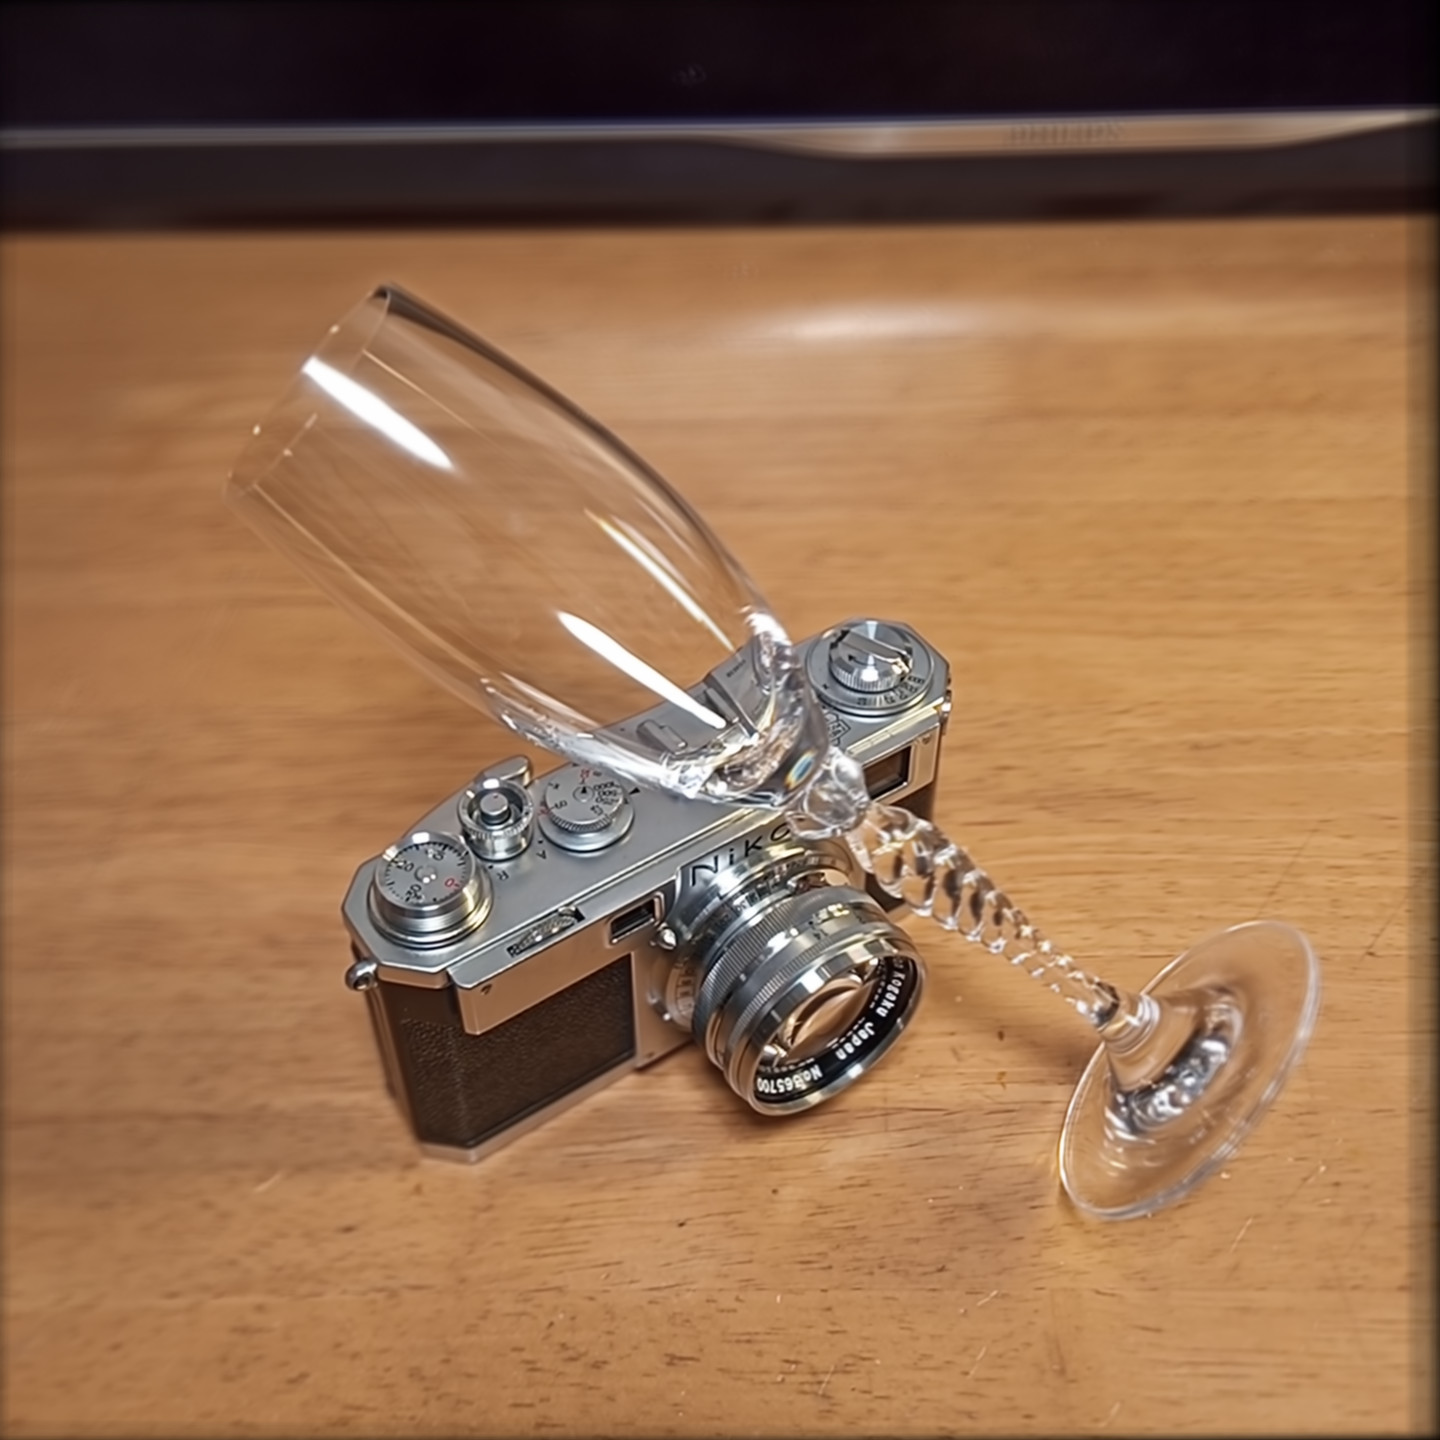 Specified plane is focused. Foreground and background are naturally defocused. (image A) |
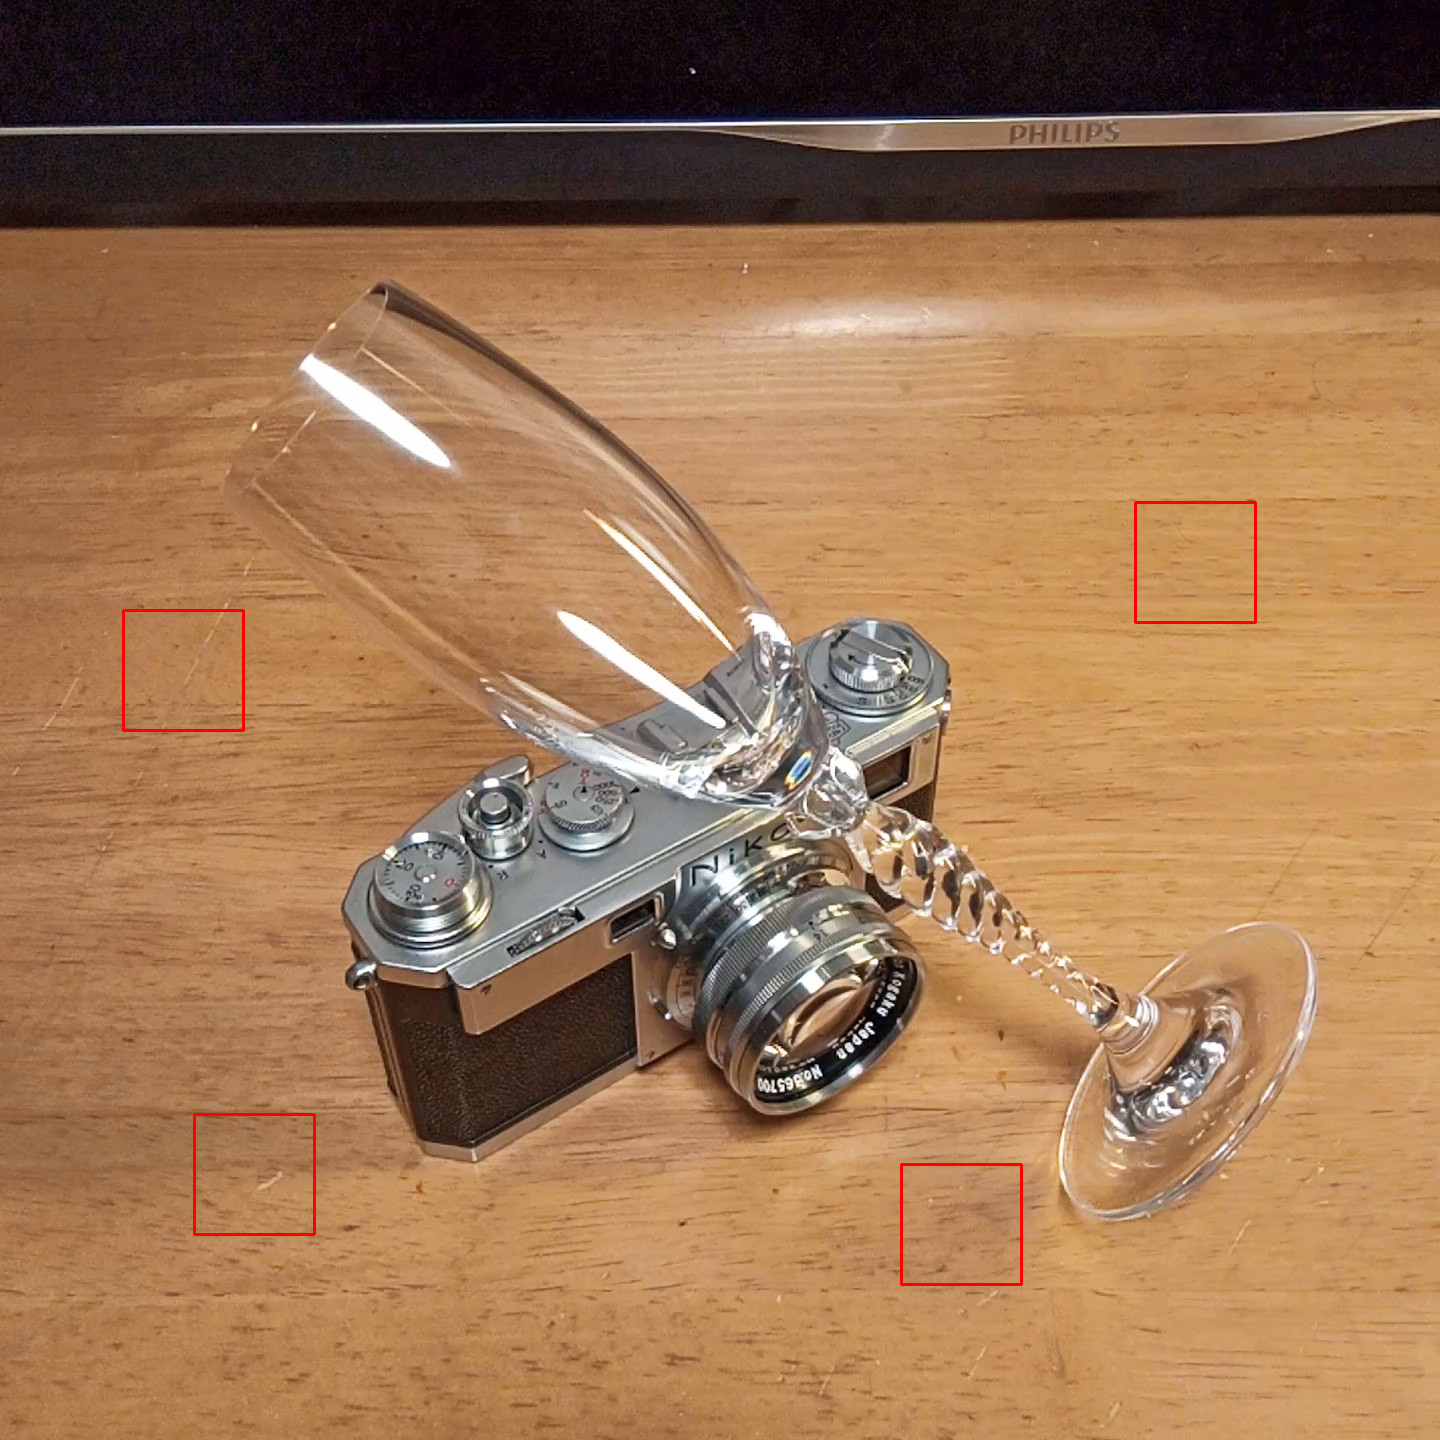 Desktop plane is specified to be focused |  Object far from the desktop plane is defocused. Wood texture through glass is sharp. |
Effect of artifact removal
By superimposing a large number of images while aligning them, jaggies (rattling of edges: aliasing), noise, and false colors that were present in the original image are reduced, and a smooth, high-quality image can be obtained.
| Input | 
| 
| 
| 
|
|---|---|---|---|---|
| Output | 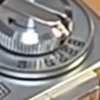 Image A | 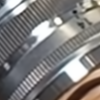 Image A |  Image A |  Image B |
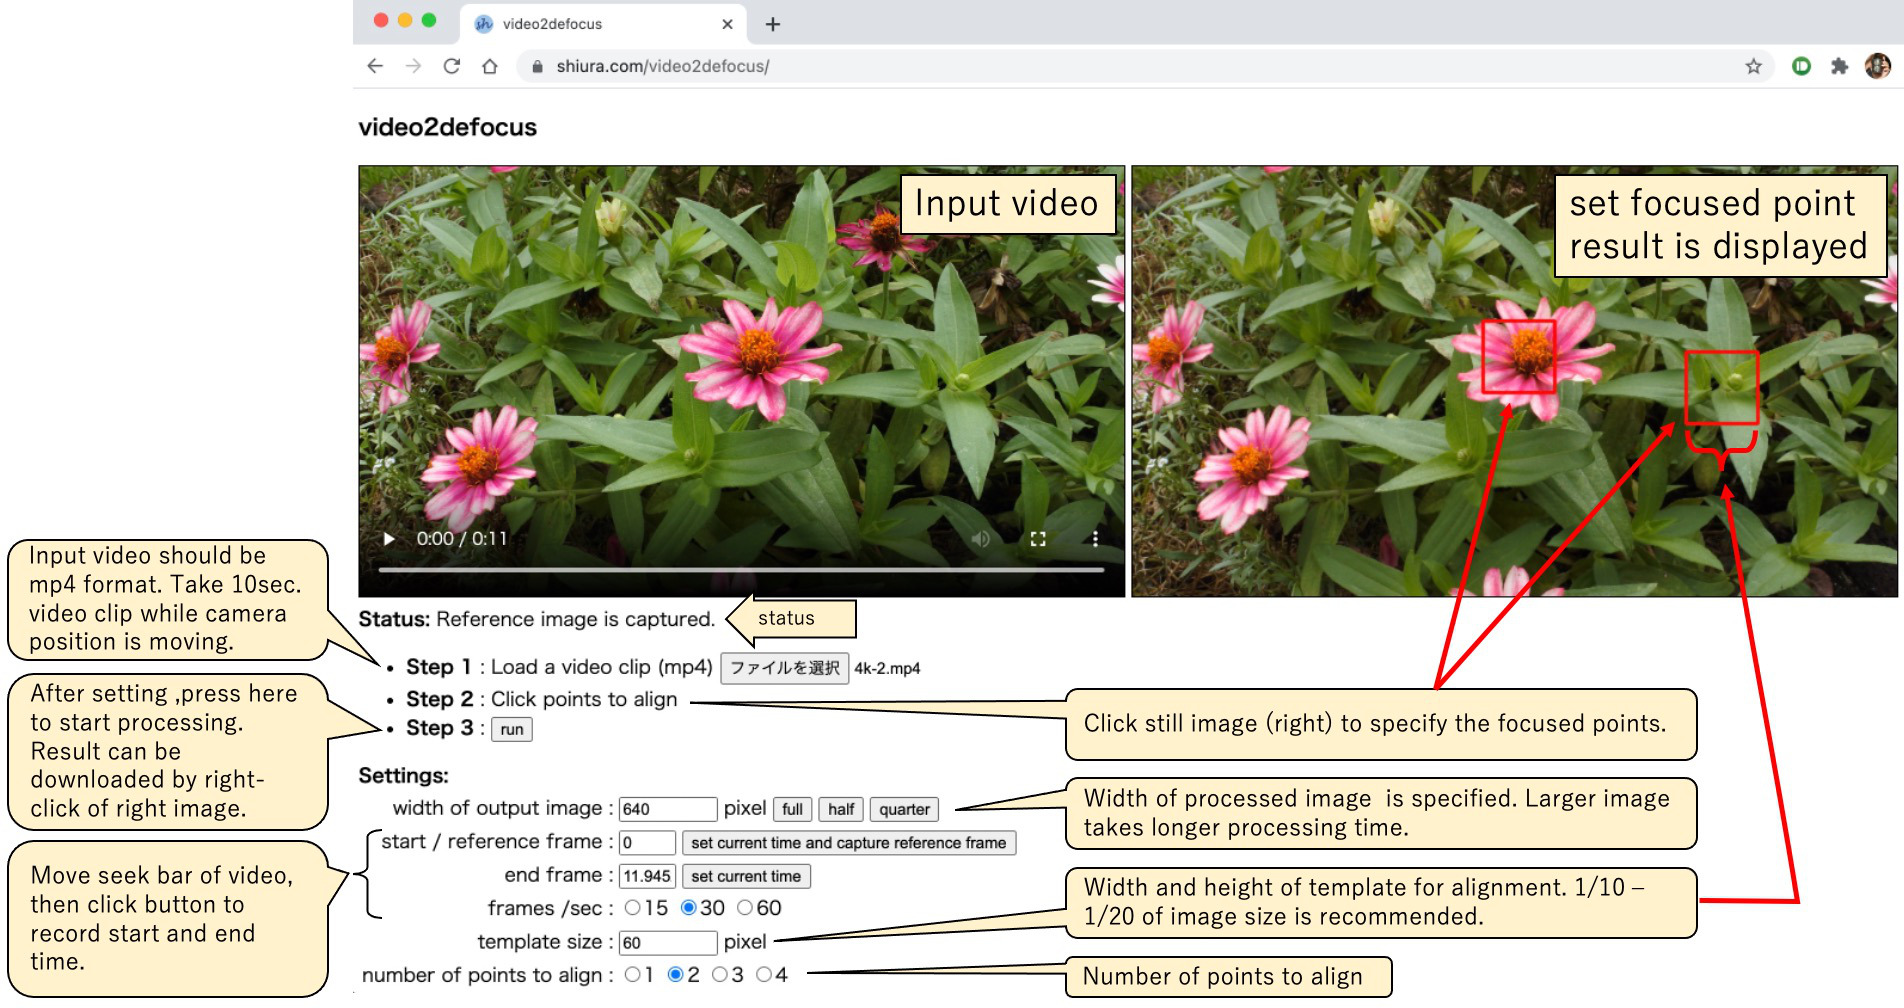
Usage
Tips
- Do not move the camera too much. Since the range in which the camera is moved corresponds to the aperture of the camera to be simulated, the moving distance should be around 1 inch for desktop photo.
- Do not significantly shift the range captured by the camera. It is important that the position of the camera moves up, down, left and right (translation), and it is better not to change the direction of the camera.
- It is better to use a camera such as a smartphone that does not blur the image. If the input image is blurred with a SLR camera, the alignment accuracy will decrease.
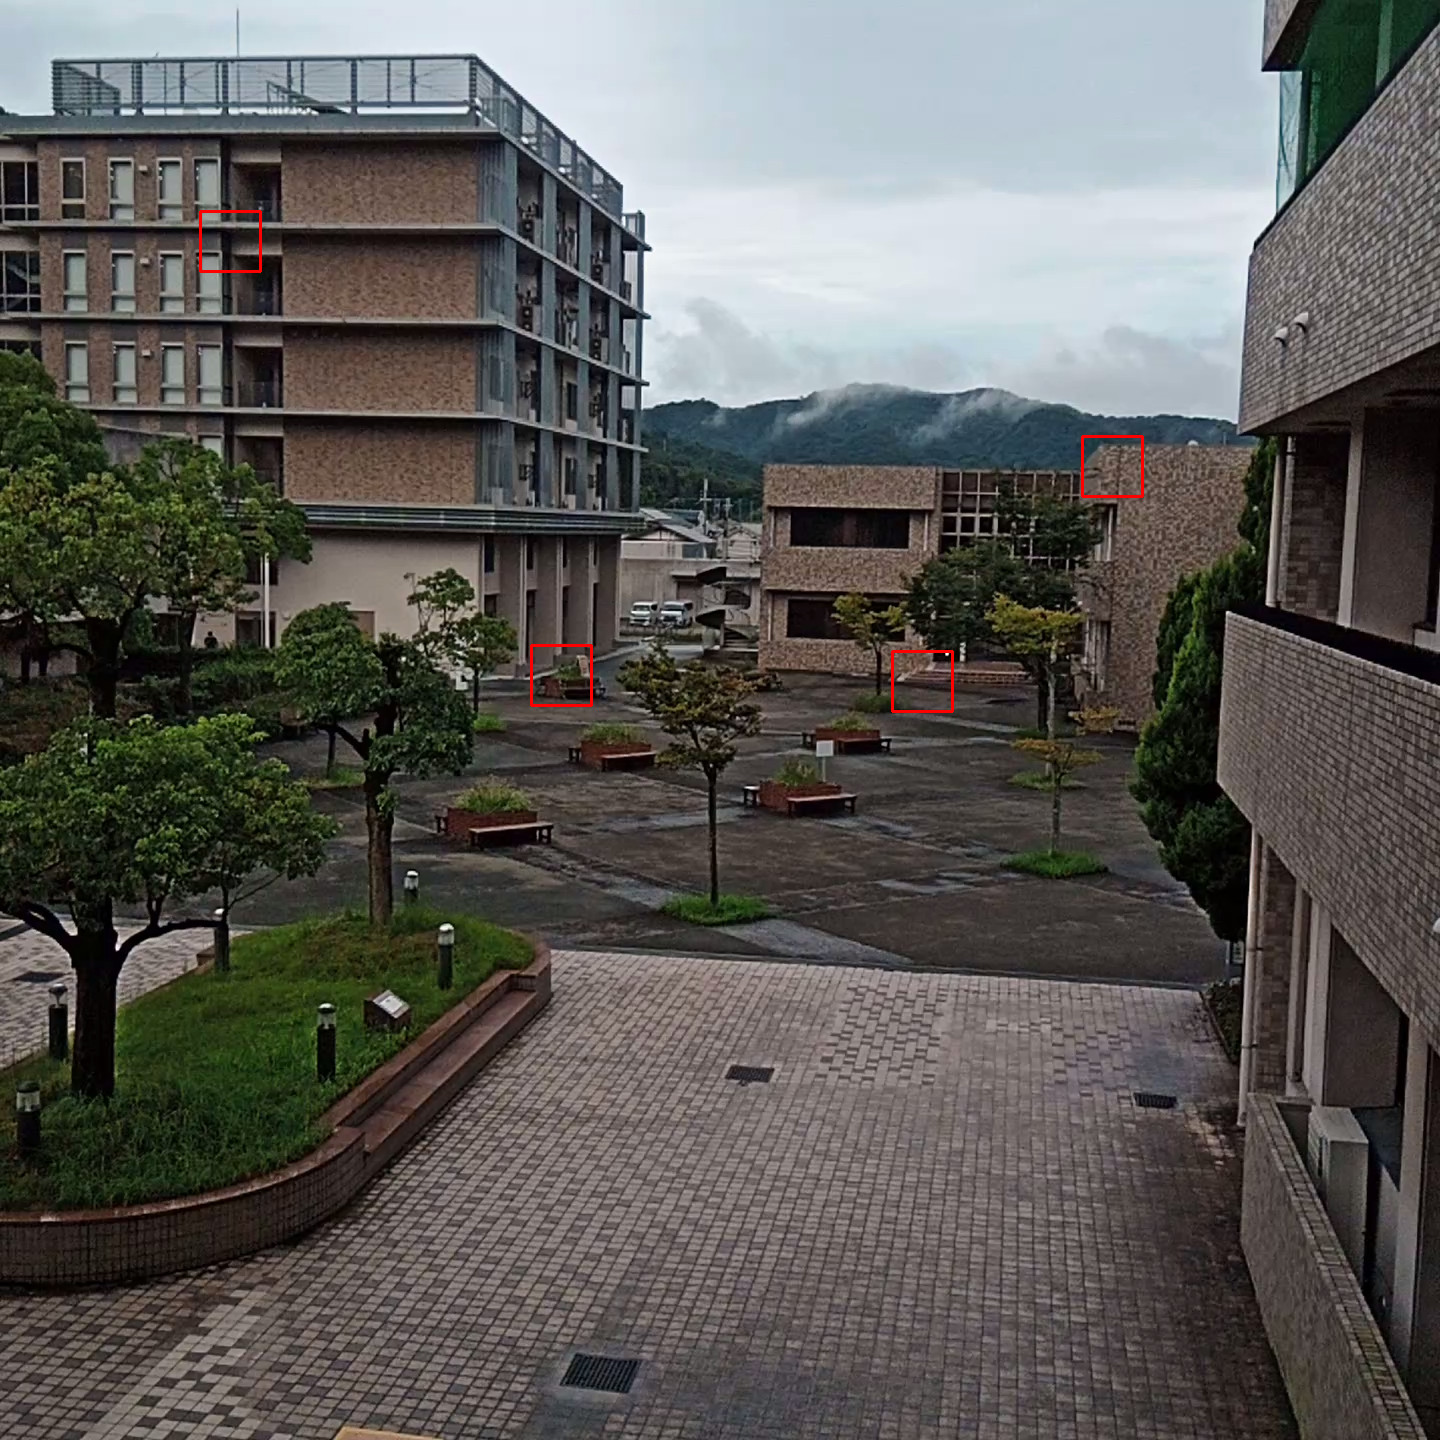
- For the points used for alignment, select points with as many patterns as possible. Alignment tends to fail in places with poor patterns.
- Don't make the template too small. Generally, the larger the size, the better the alignment accuracy and stability.
- You can adjust the amount of blur later by gradually increasing the movement. In this case, using the first half of the video will generate small blur, and using the latter half will increase the blur. Using the whole, you get a soft filter like image with a halo around the sharp kernel of focus.
Relationship between the number of aligned points and the obtained effect
Original video clip here, here (Download .mp4 file by right-click of this link)* Click to see larger picture.
| Specified focused point in the input image | Result |
|---|---|
 1 point registration (translation only) | 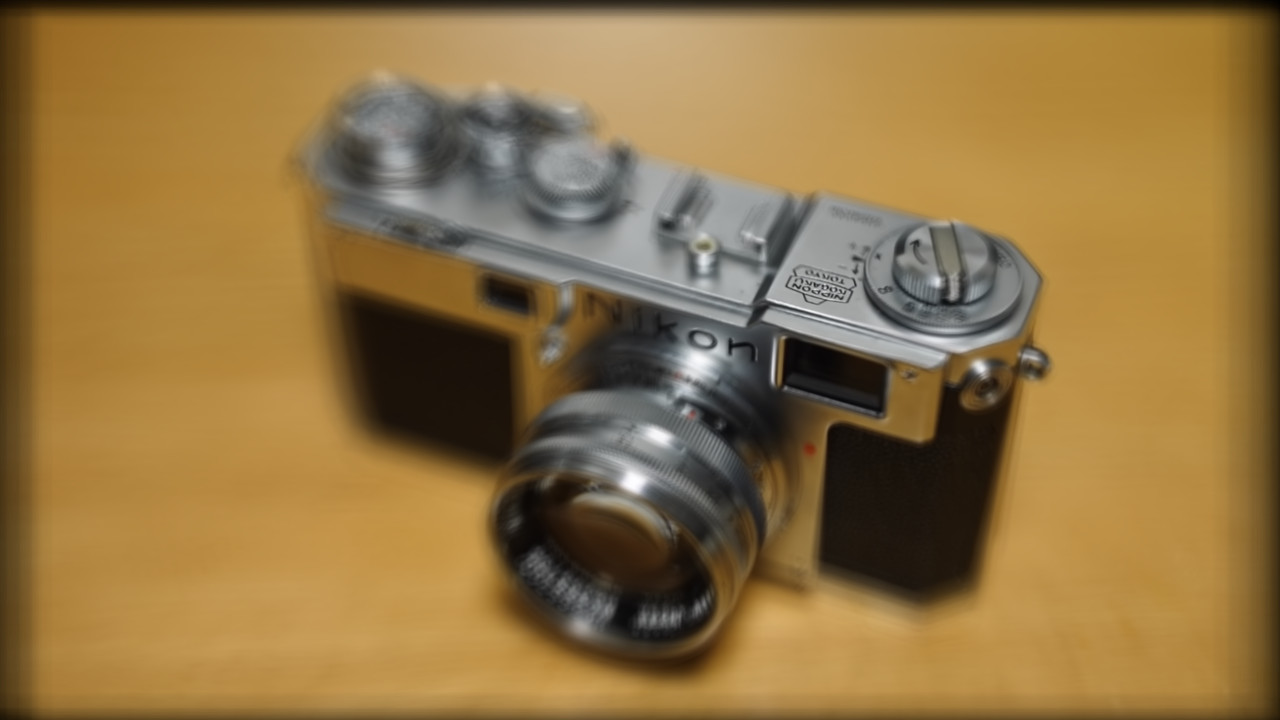 Specified point is focused. Surroundings are defocused because of the rotation of the camera. |
 2 points registration (translation, rotation and scaling) |  Line connecting two points are focused |
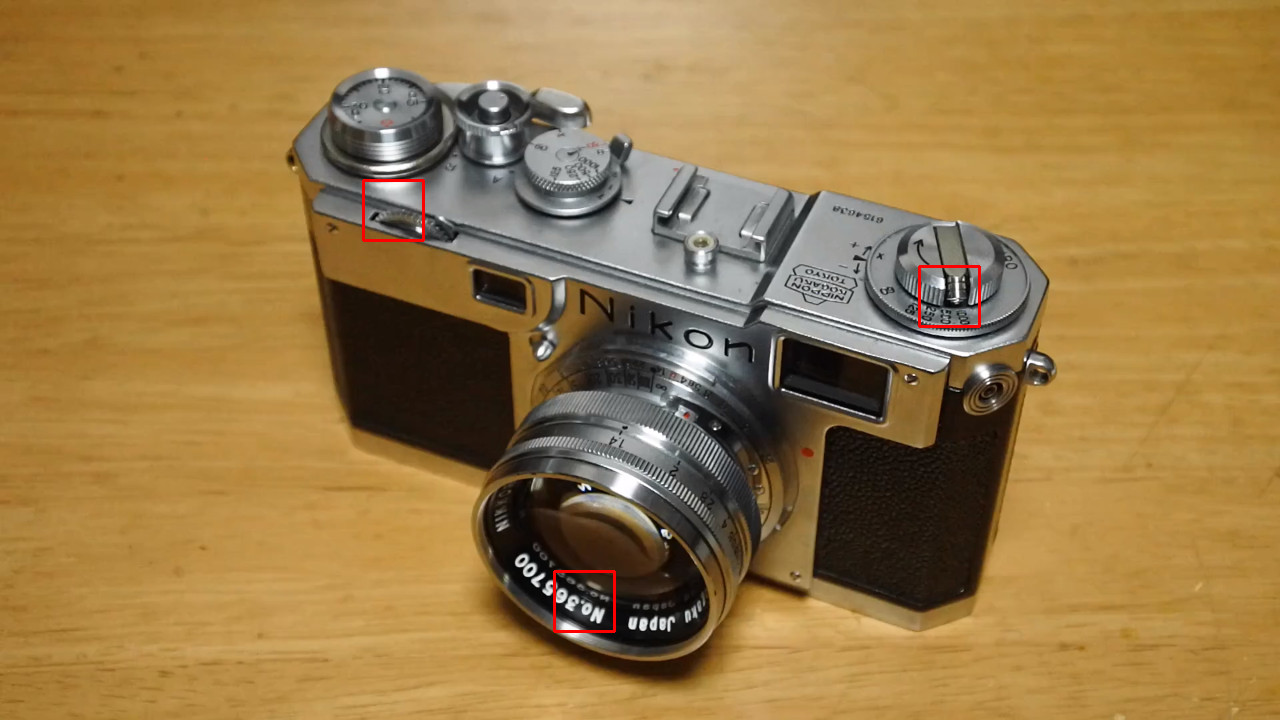 3 points registration (affine transform) |  Plane defined by the three points is roughly focused. Tilt effect is possible |
 Coplanar 4 points registration (homography transform) |  Theoretically, specified plane is perfectly focused (Image B) |
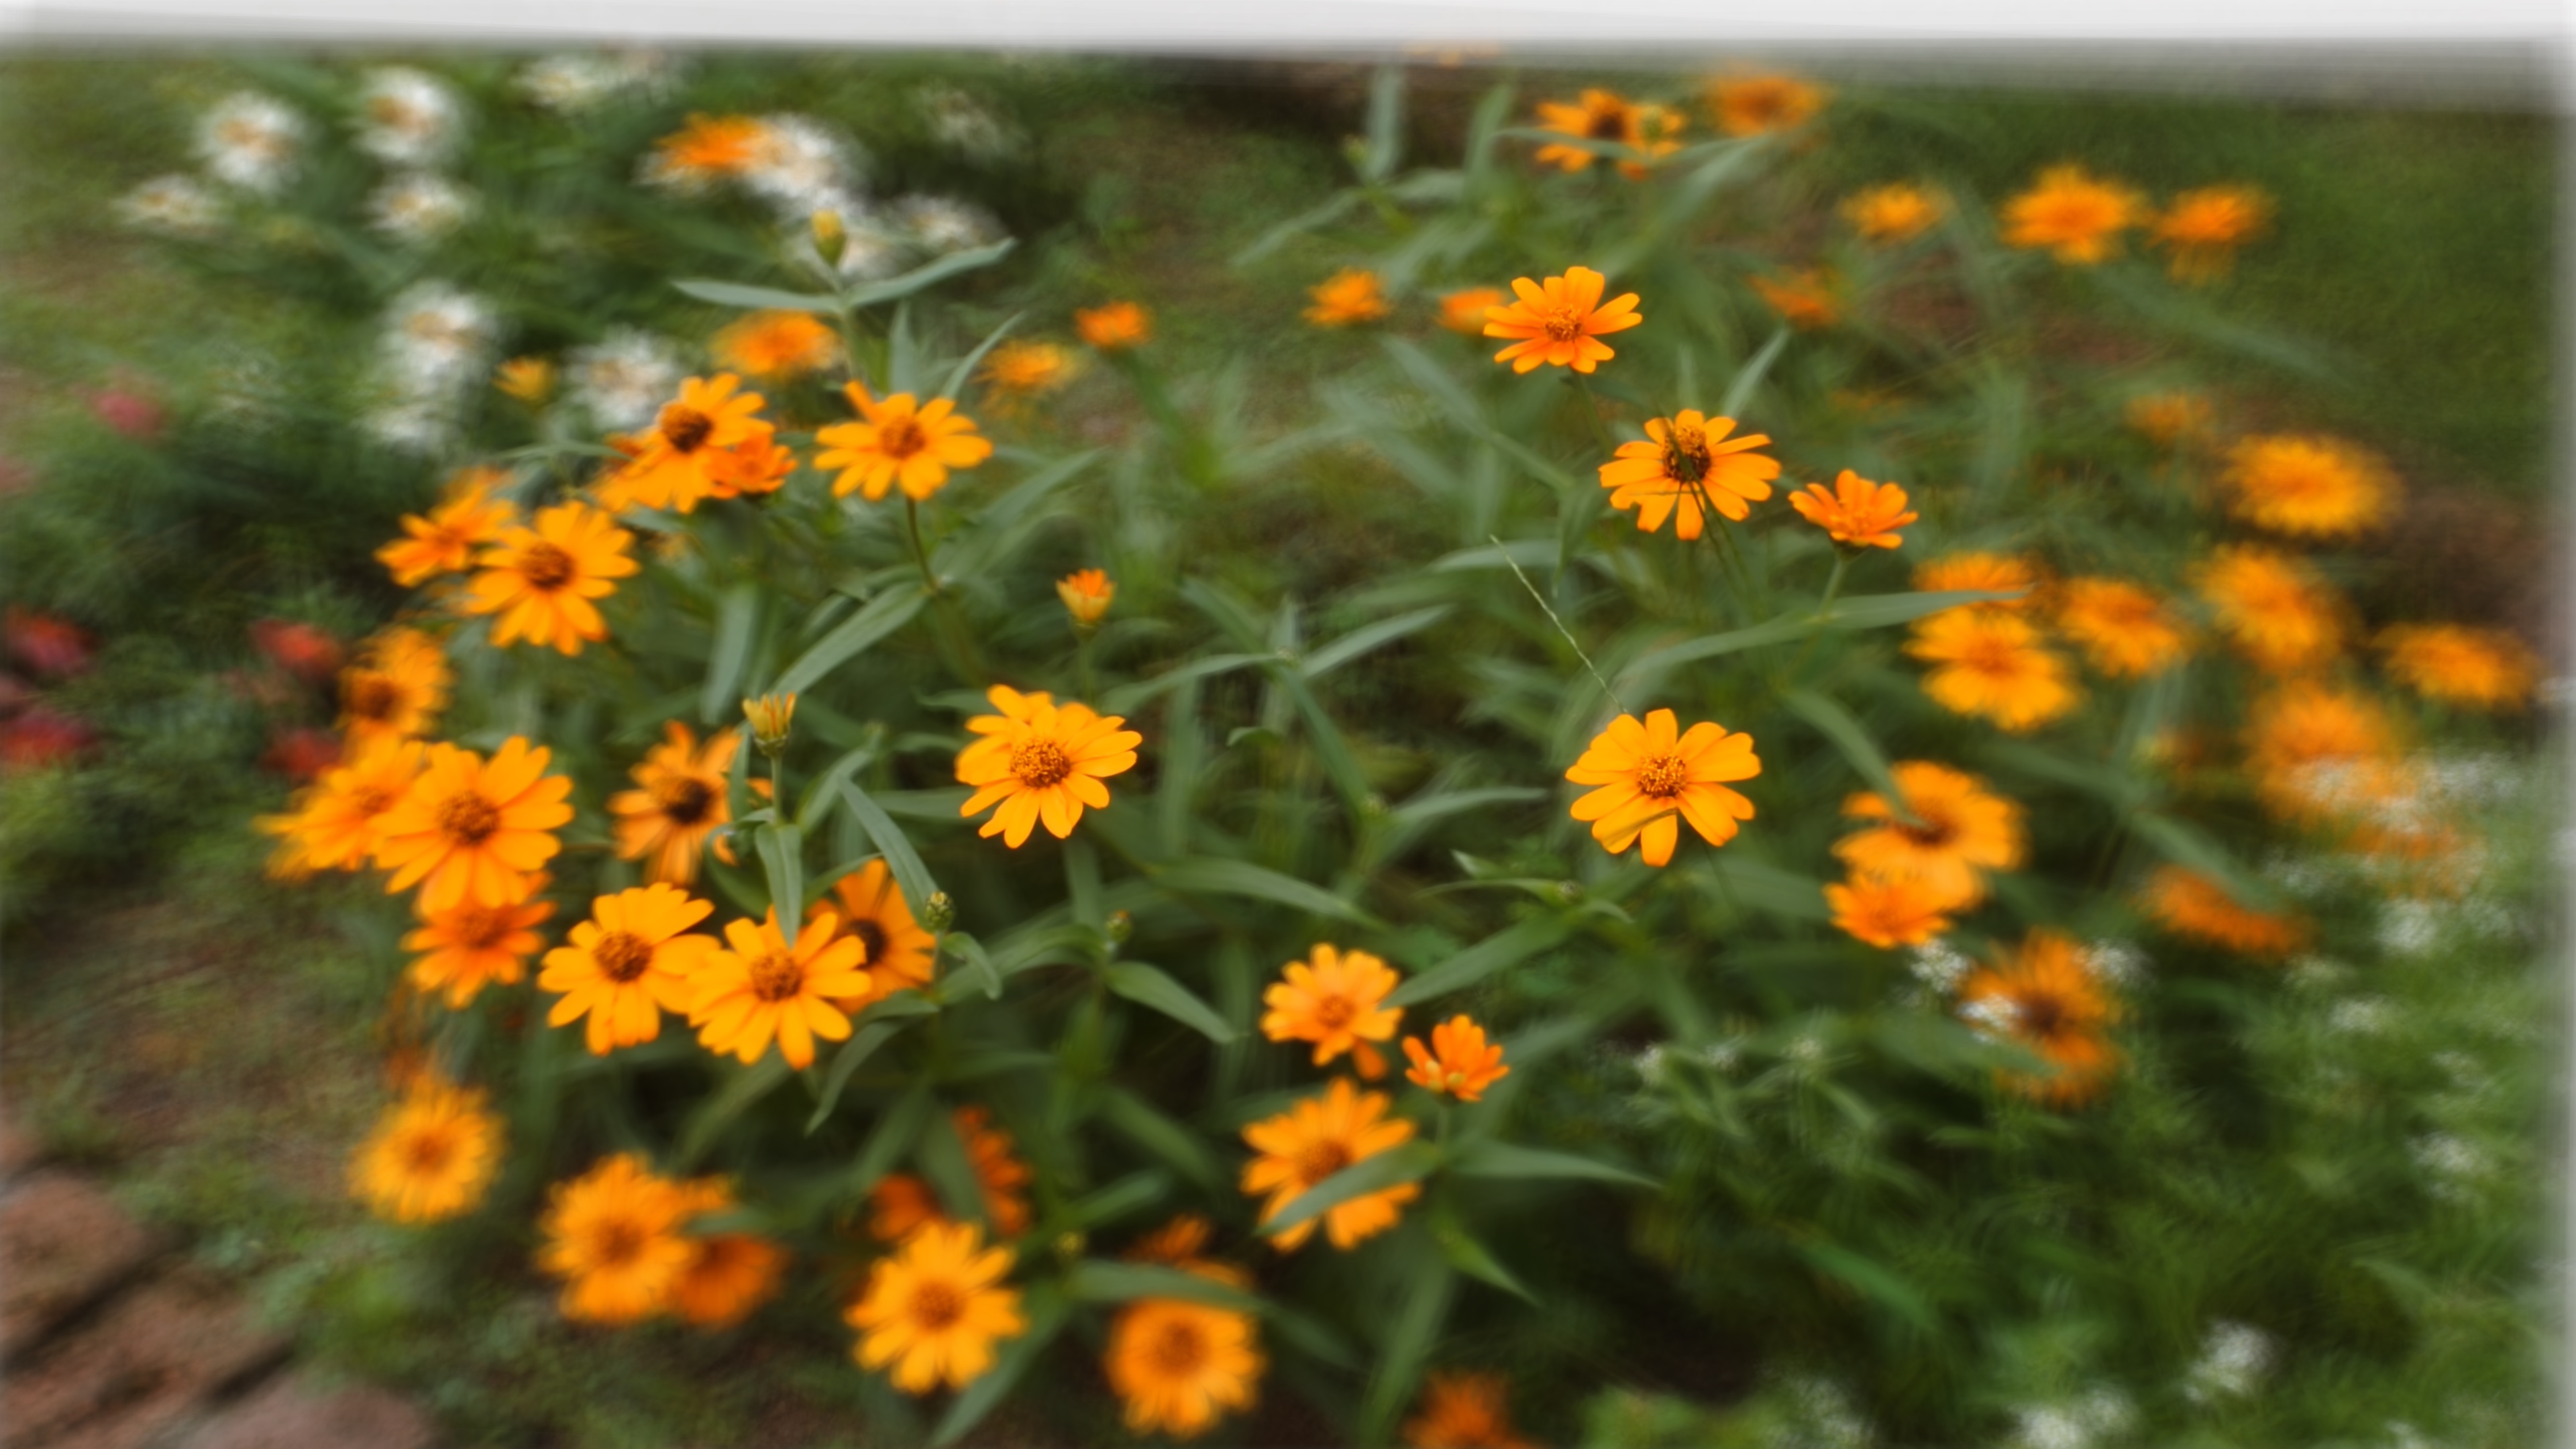
Other examples
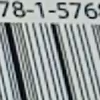
* Click to see larger picture.| Defocus of relatively large object | |
|---|---|
| Specified focused point in the input image | Result |
| 
|
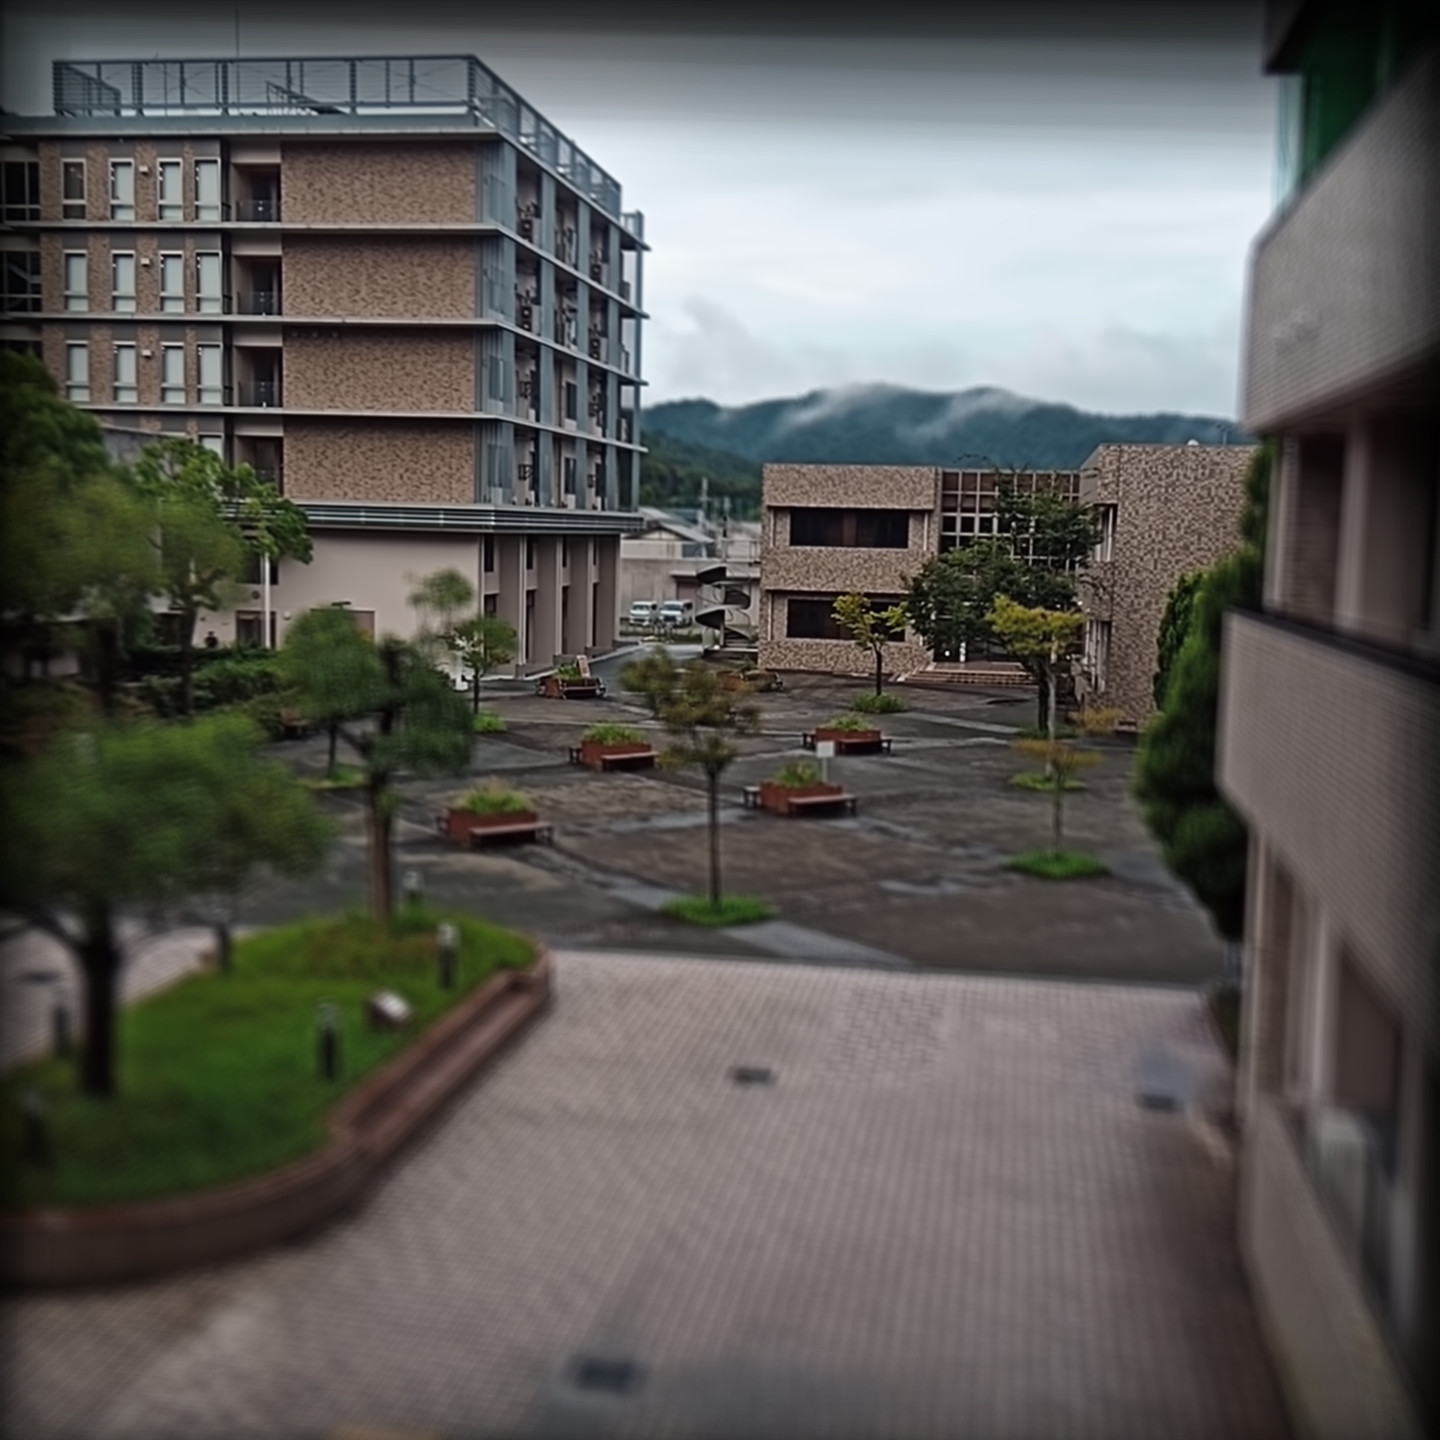
| Miniature effect of landscape | |
| Specified focused point in the input image | Result |

| 
|
| 
|
| Panning or following shot of moving object | |
| Specified focused point in the input image | Result |
 car running at walking speed, I also walked backward, 1.7sec sequence |  |
 | 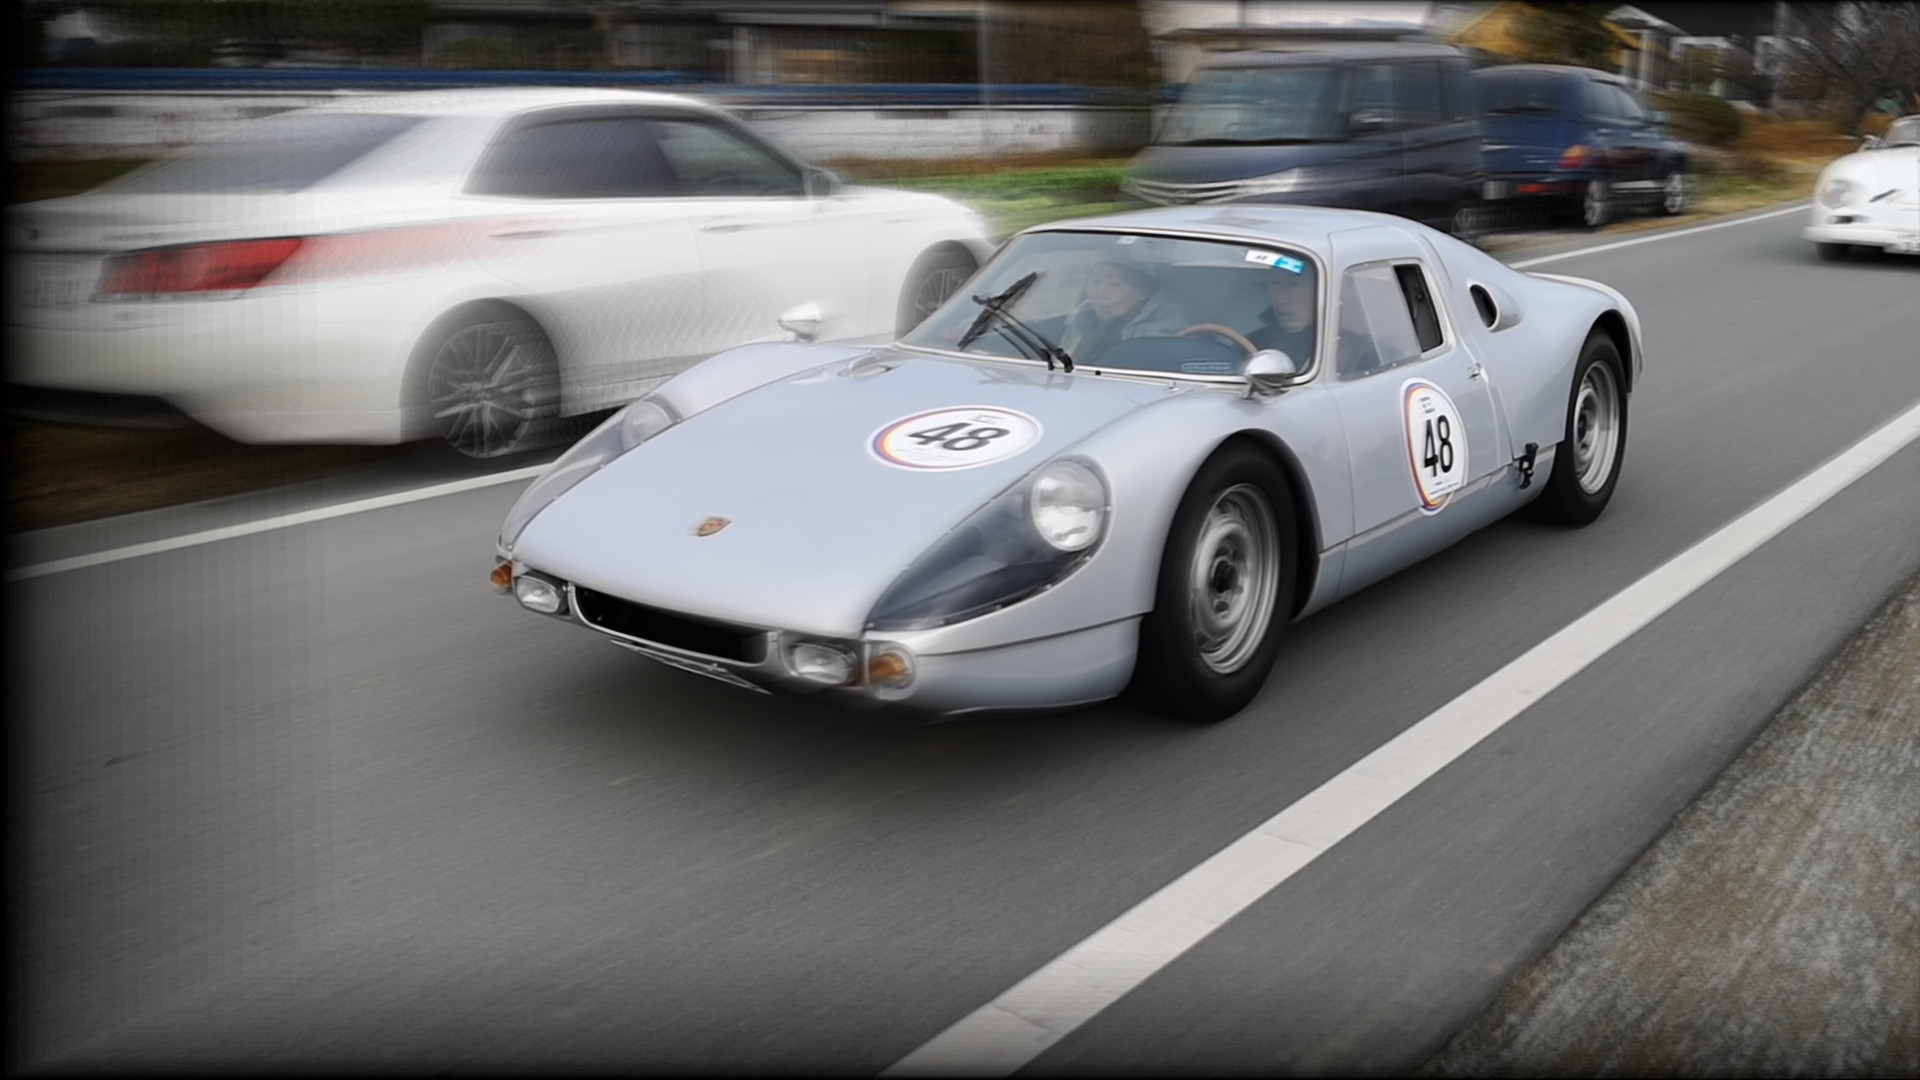 |
| Defocus using 4K 15fps video(original video) | |
| Specified focused point in the input image | Result |

| 
|
| Long exposure effect with handheld camera(original video) | |
| Specified focused point in the input image | Result |
| 
|
Examples
※Click to enlarge. Trimming and color correction is performed.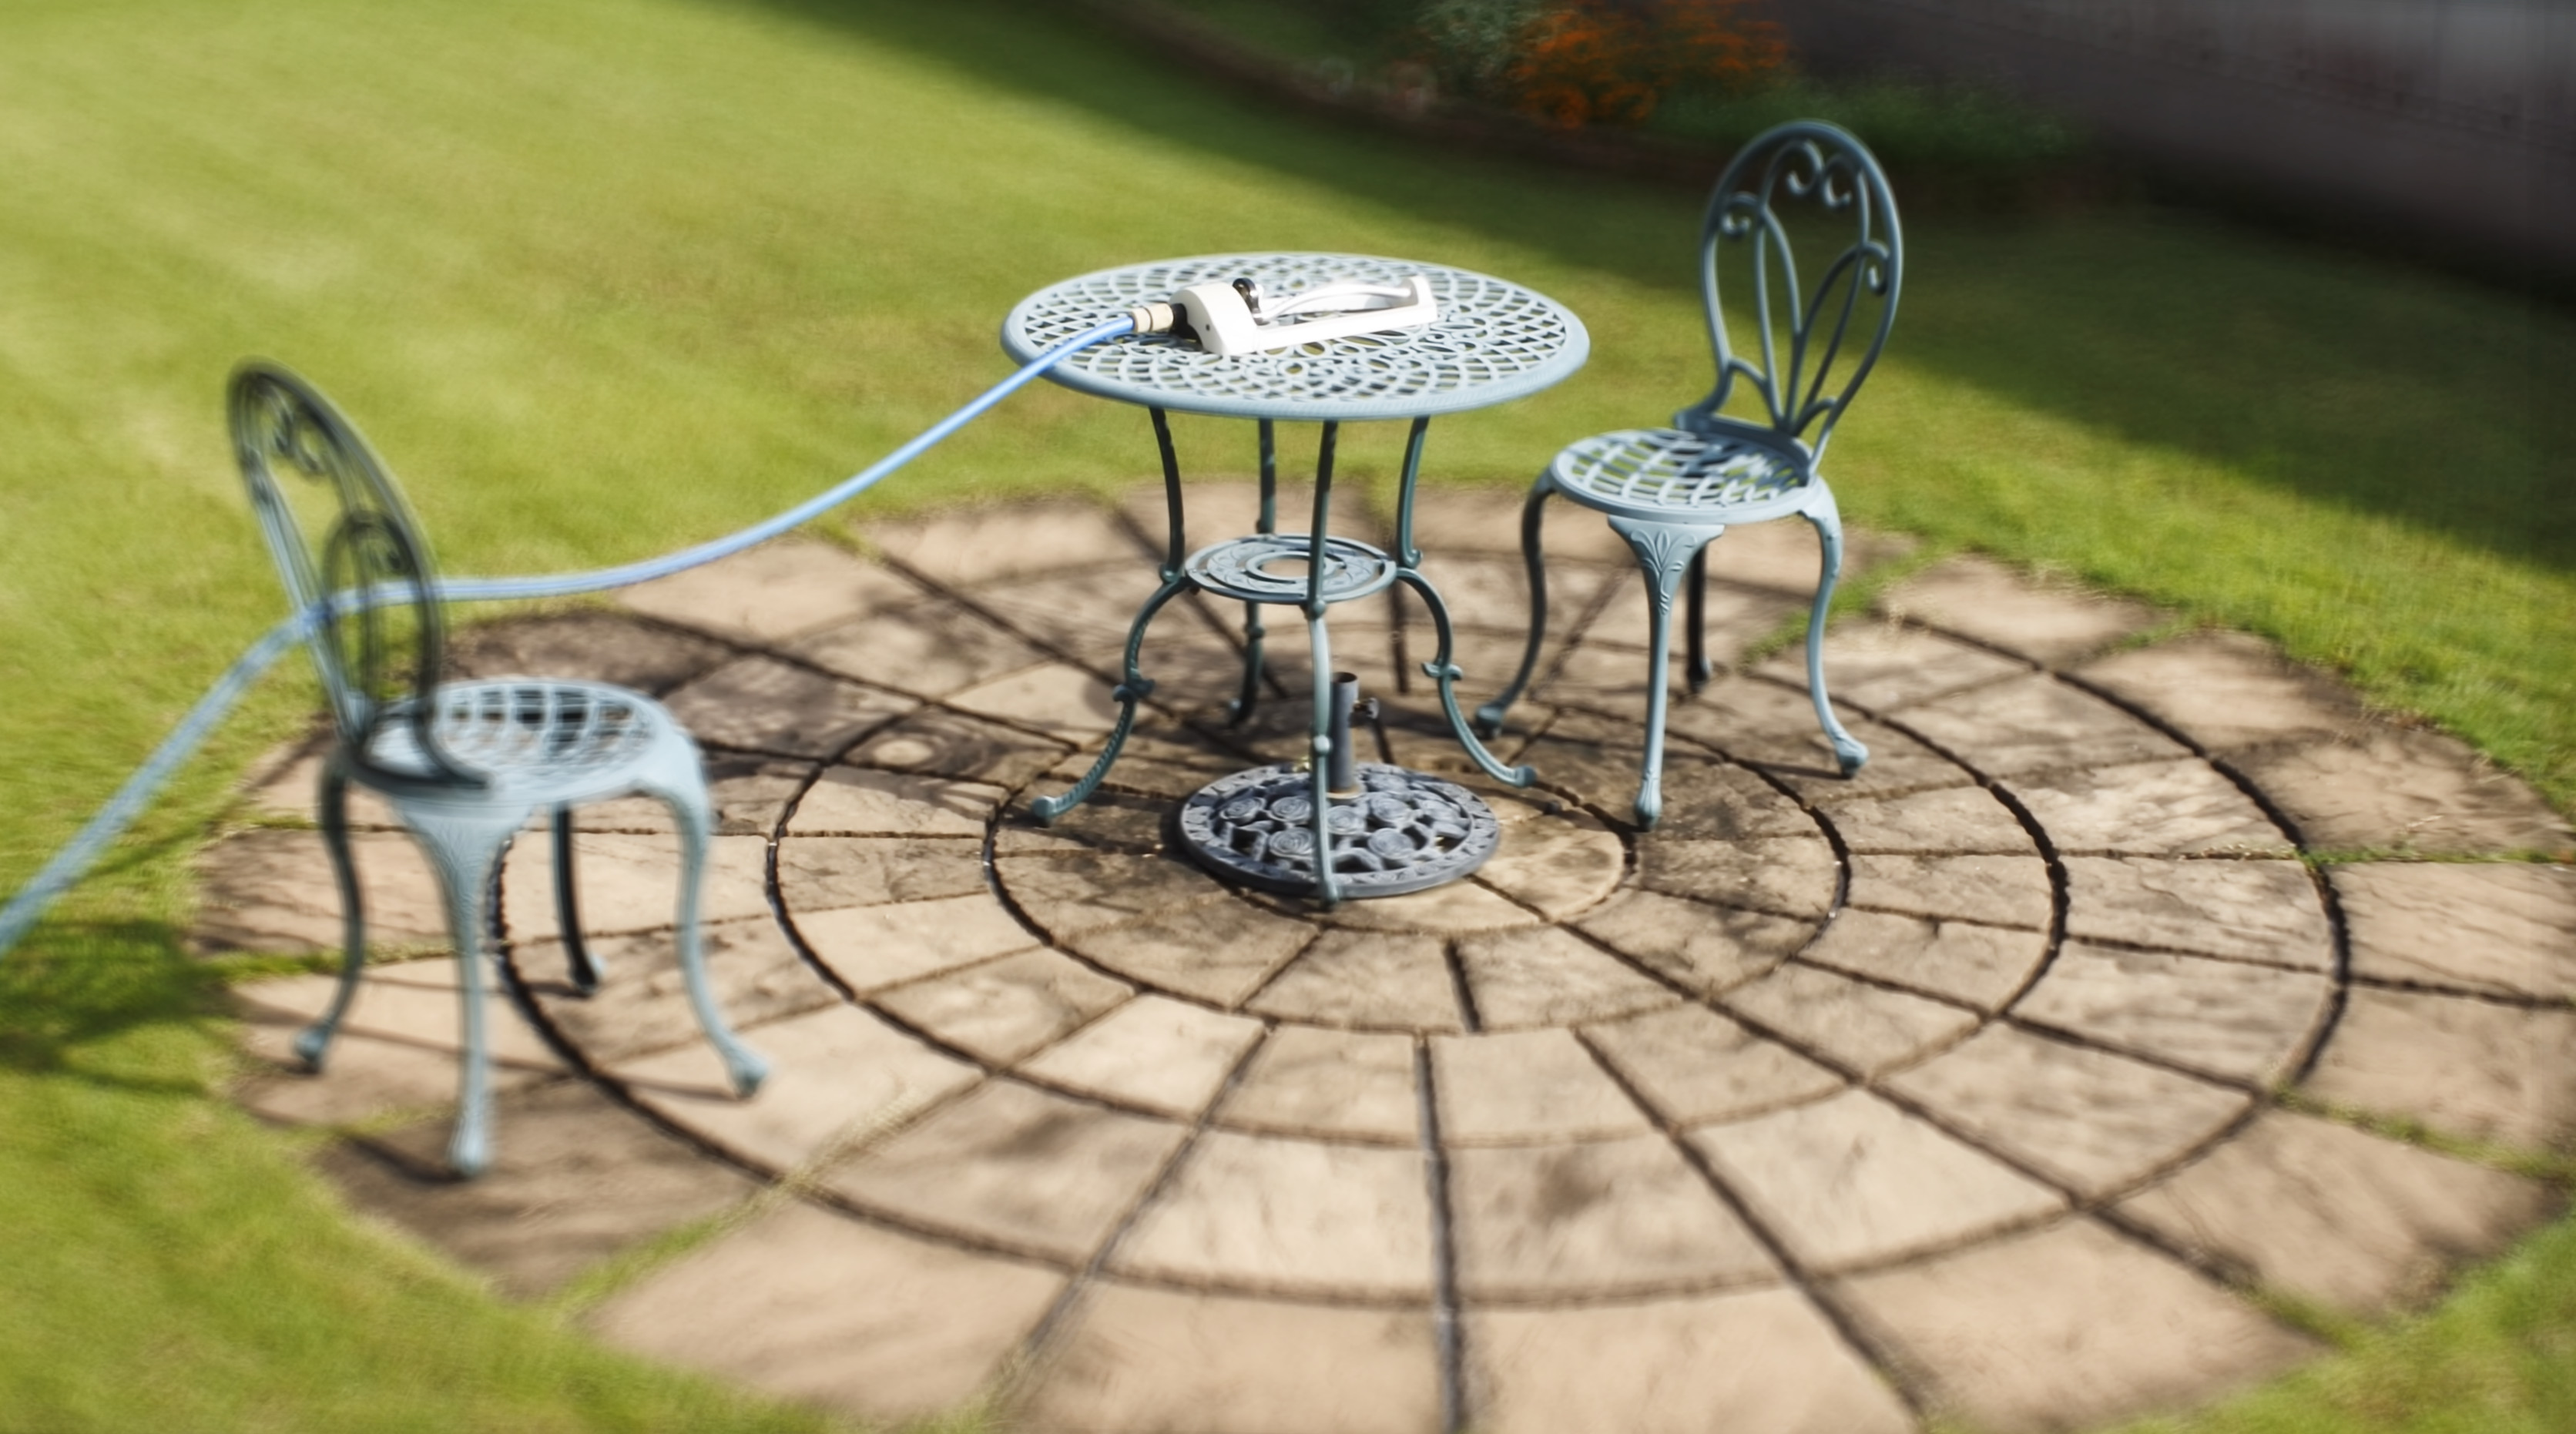
original video


Reference